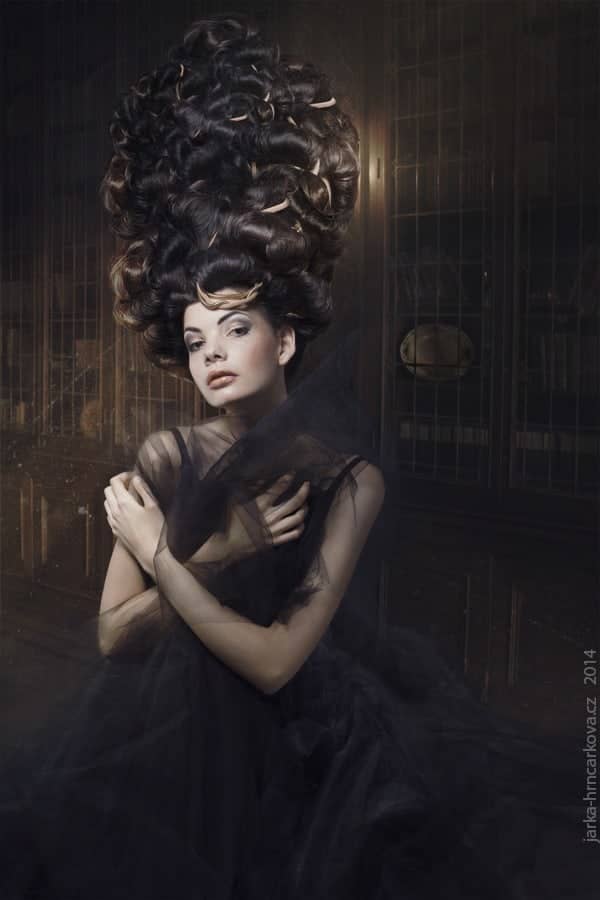
In this tutorial, you’ll learn how to add interesting light to your photo manipulations. Different ways of blending challenges objects such as semi-transparent fabric will be explained. Let’s get started!
Preview of Final Results
Tutorial Resources
- Library by Cats-go-moo-always
- Woman, hair and dress
- Mist Brushes by pelleron
- Sun Rays Brushes by pelleron
- Dust Texture by boxx2genetica
- Light Texture by stock-basicality
Step 1 – Preparing Background
Let’s start with creating new document in Photoshop. Go to File > New… Set its Width on 600px, Height on 900px and Resolution on 72Pixels/Inch. Press OK.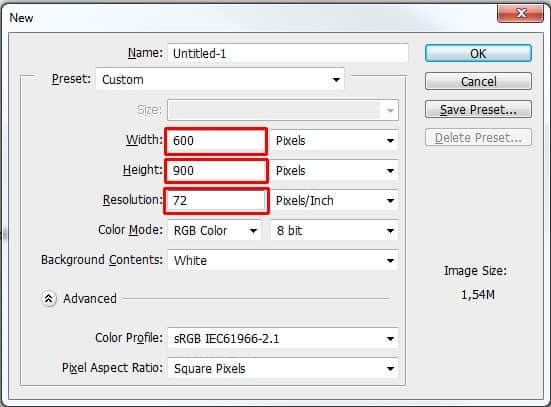
Step 2 – Placing the Library
Download the stock photo of the library listed in the beginning of the tutorial and drag it into your photo manipulation. Place it on the top of all layers and name it LIBRARY. Press Ctrl + T to activate the Free Transform tool and change the photo on size of the document. Hold Shift while doing it to remain constant proportions. Press Enter on your keyboard after you’re done to apply the changes.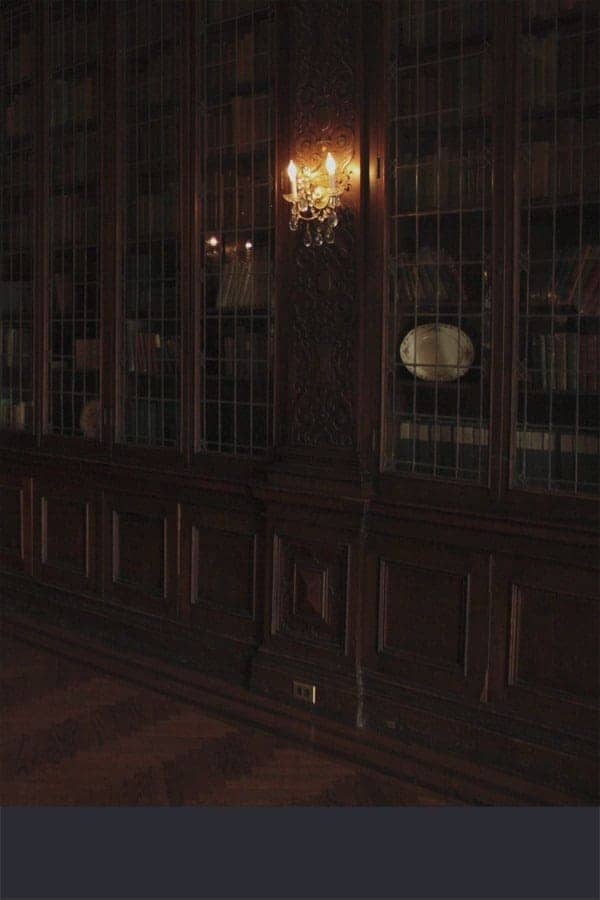
Step 3 – Lowering Saturation
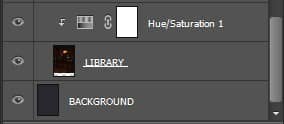
Add new adjustment layer Hue/Saturation on the top of all layers and set the value Saturation on -40. To affect only LIBRARY and not the rest of the image create clipping mask from this adjustment layer by clicking on the square icon on the bottom part of the Hue/Saturation palette (see below).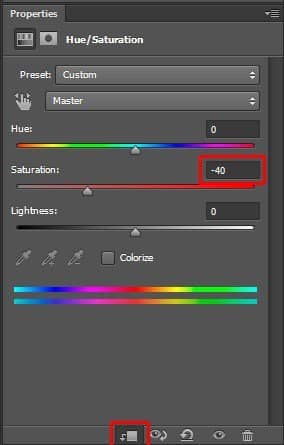
Step 4 – Adding Floor
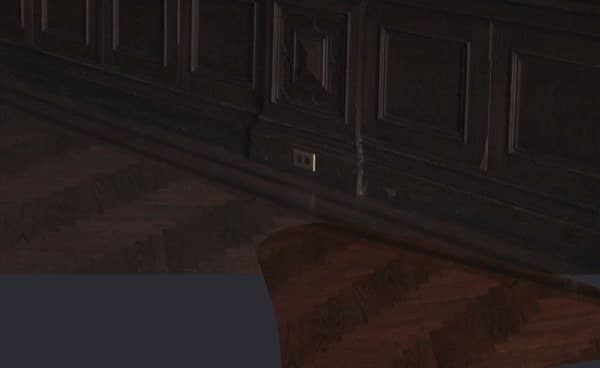
In following steps you’ll add photo of the woman to the bottom left corner. Because of that you don’t need to have floor placed there. But there would be some empty space in the bottom right corner. You’ll get rid of it in this step.Click on the layer LIBRARY. Grab the Lasso Tool (L) and select the floor (see picture below).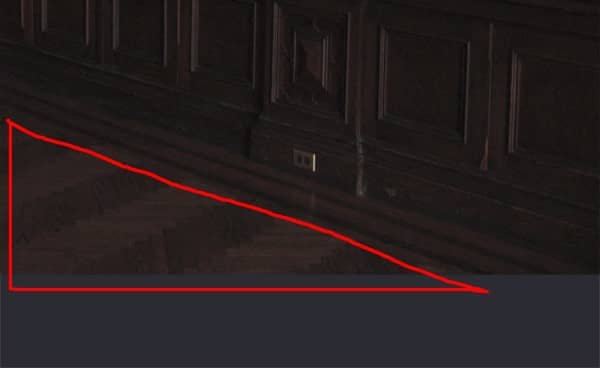
Step 5 – Saturation of the Floor
You need to lower the saturation of the floor same as you did it with the LIBRARY. Add new adjustment layer Hue/Saturation on the top of all layers and set the value Saturation on -40. Create clipping mask from this layer to affect only one layer below (= FLOOR).After you’re done your photo manipulation should look like the one shown below.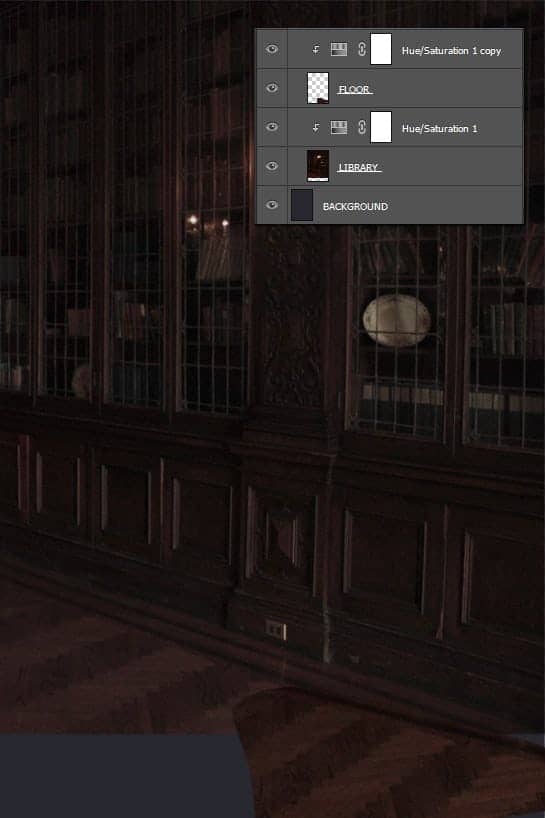
Step 6 – Darkening the Room
To make the whole room bit more mystical you’ll make it darker in this step. Add new adjustment layer Curves on the top of all layers and set it as shown below.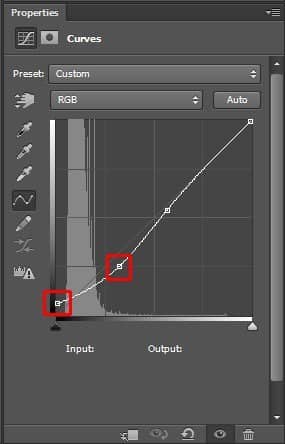
Step 7 – Adding Woman
Download stock photo of a woman listed in the beginning of this tutorial and drag it into your photo manipulation. Place it on the top of all layers and name it WOMAN.Press Ctrl+T to activate the Free Transform tool and resize the photo on proper size. Hold Shift again while doing it to remain constant proportions of the image.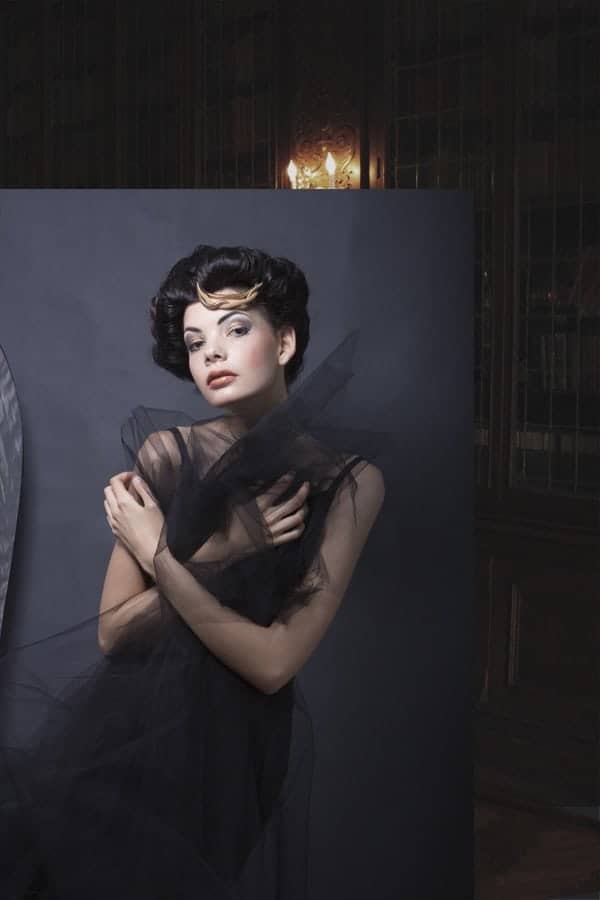
Step 8 – Blending the Woman
You need to blend the woman better with the rest of the image. You’ll take care of some blending in this step.Add new layer mask to the layer WOMAN. Grab the Brush Tool (B). Set the Hardness of the brush on 50{a71cc4d467774ca5aab6a47fa1e18fb2136e9ecde7eb00ec12f96cbb3718c06b} and the Opacity on 100{a71cc4d467774ca5aab6a47fa1e18fb2136e9ecde7eb00ec12f96cbb3718c06b}. Pick black color and start painting over the grey background to make it disappear. (Be sure the layer mask is active by clicking on it.)You should get something similar to the picture below. You don’t need to be very precise around woman’s hair. It will be covered with another hair in following steps.Source link