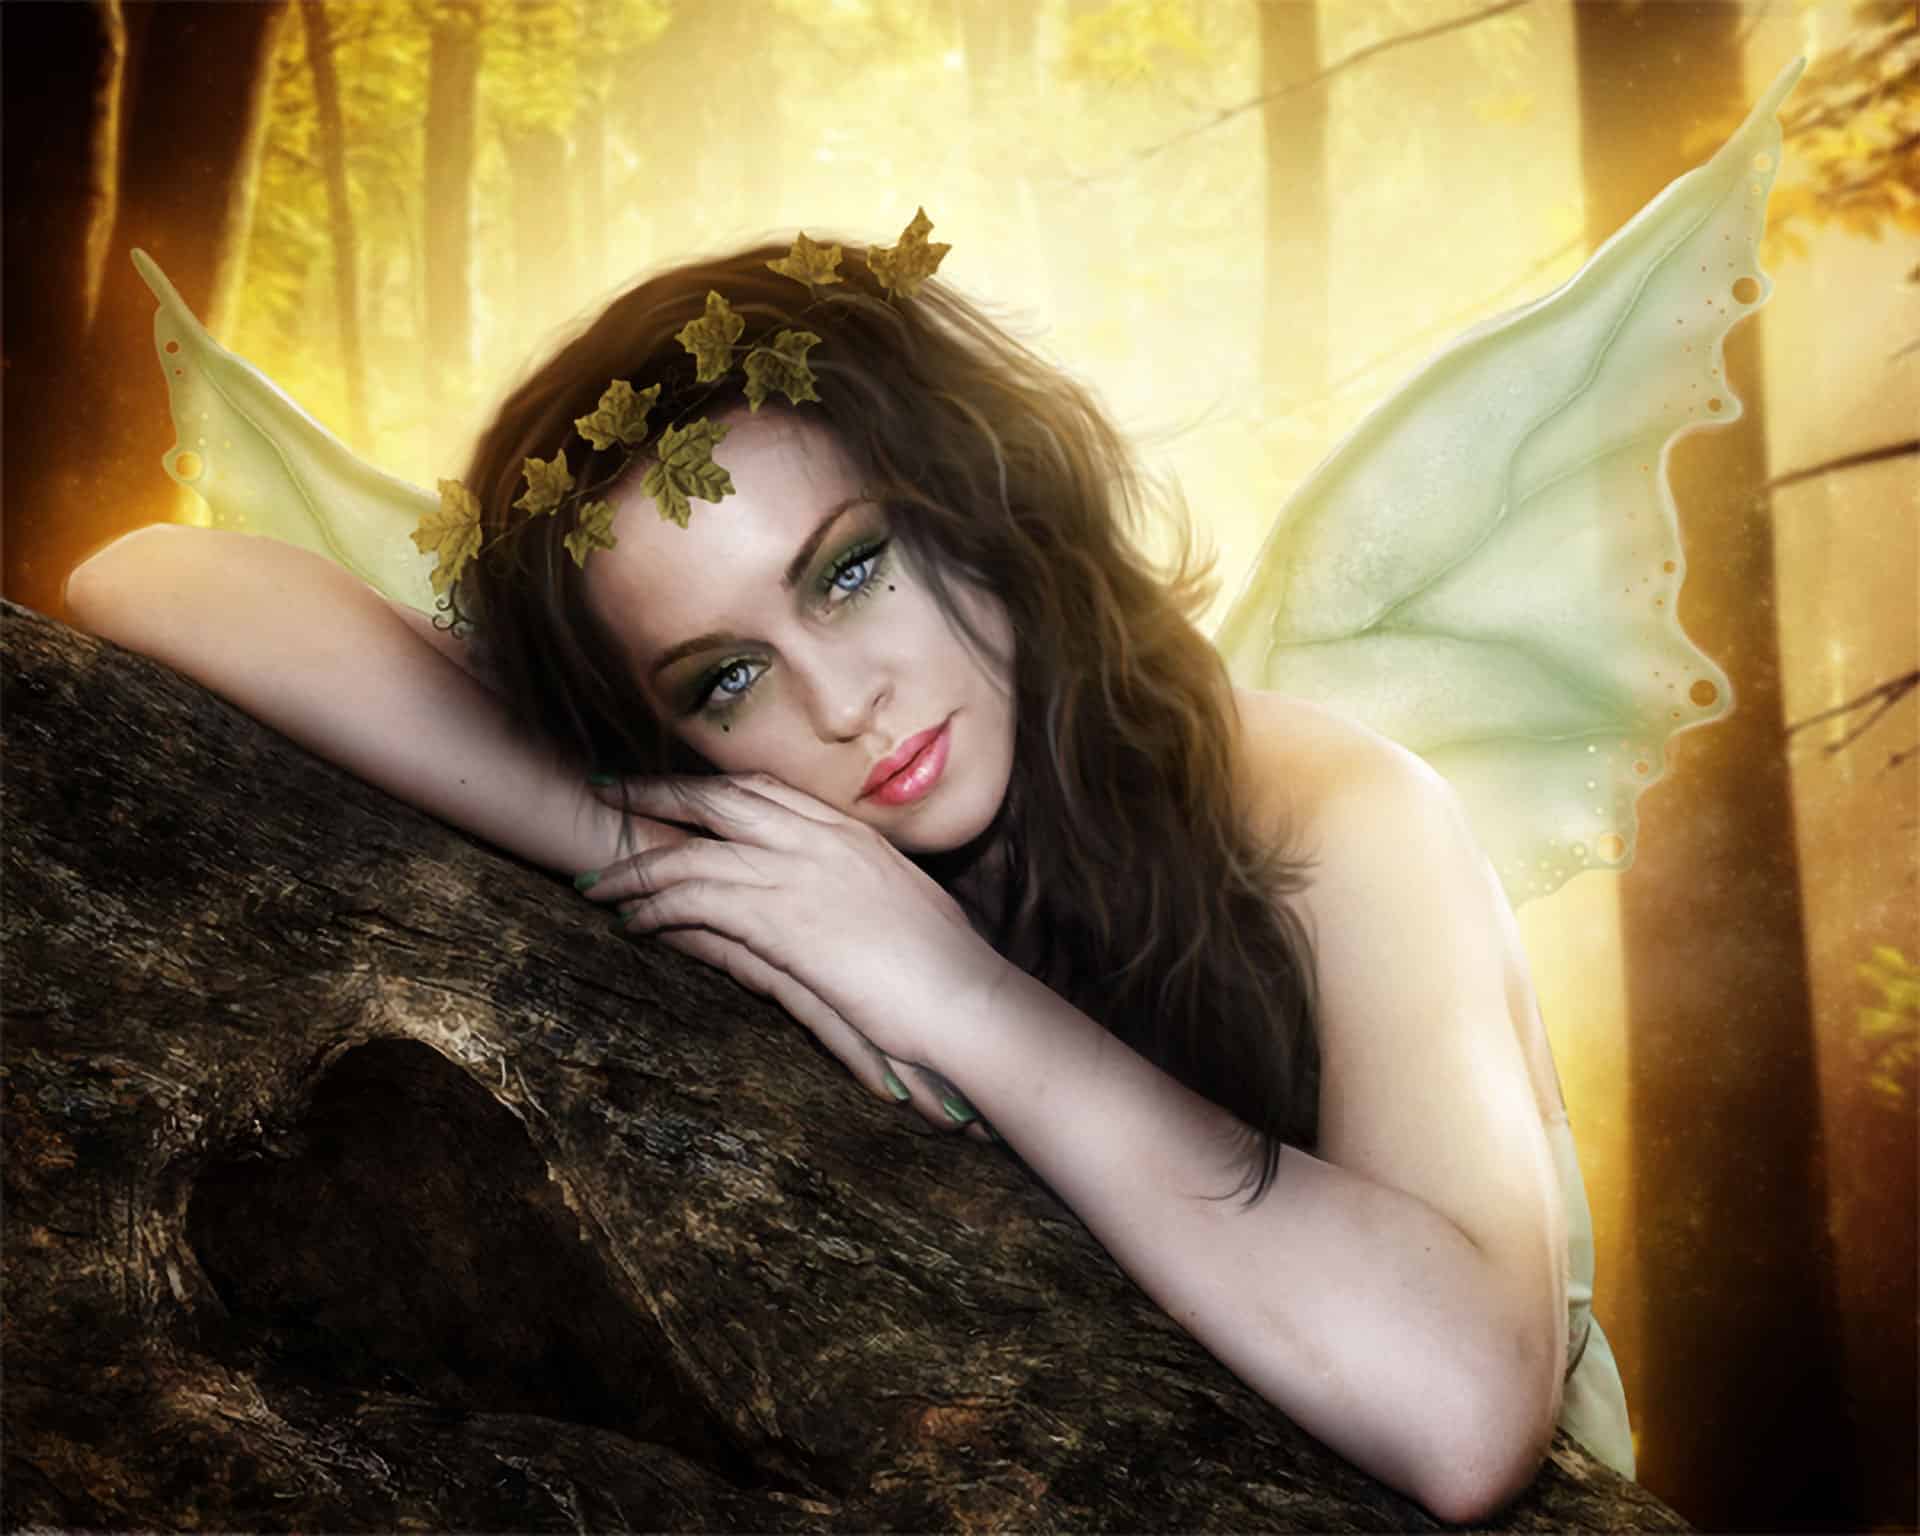
In this tutorial, you’ll learn how to create a fantasy scene of an autumn fairy. This tutorial will show you how to create hair, makeup, and apply lighting effects in simple steps to help improve your photo manipulation skills and techniques.
Preview of Final Results
Tutorial Resources
- Model – faestock
- Background – Jess8181
Wings – shoofly-stock(Alternative)Texture –greenaleydis-stock(Alternative)- Tree Heart – cosmiksquirelstock
- Leaves – sammykaye1sstamps
- Hair – Dezzan
Step 1 – Model
Choose the model.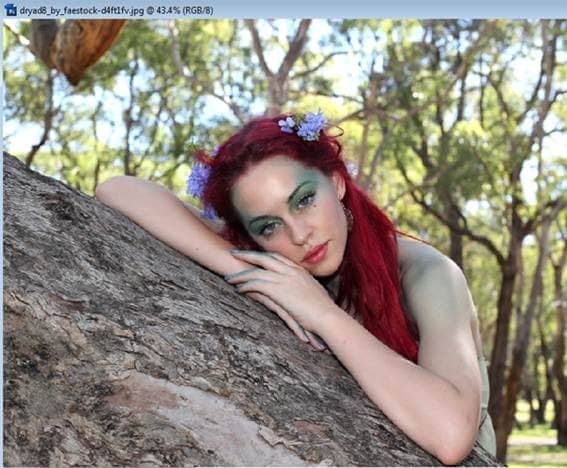
Step 2 – Select the model
Use the Pen Tool to select the model. Make sure the option is in “Paths” like you see in the little box below.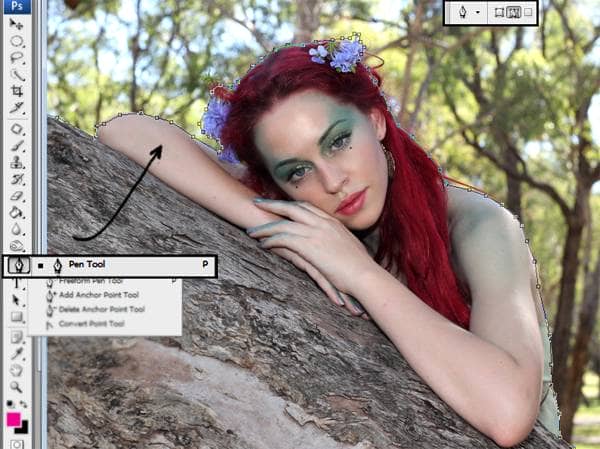
Step 3 – Make the Selection.
When you end with the selection press right-click. In the menu you have on the screen, choose the option make selection.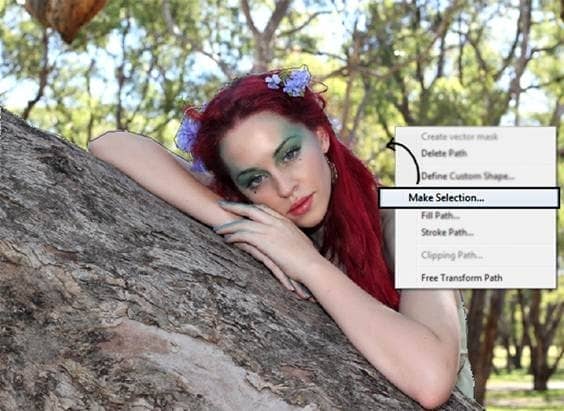
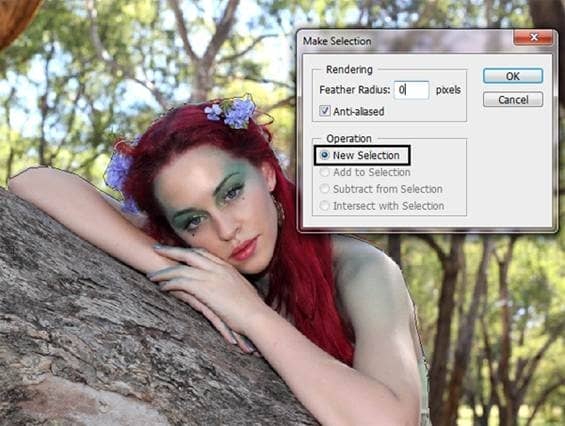
Step 4 – Subtract model from the background
Press Ctrl+J to duplicate the model’s selection you made before. The result has to be like this: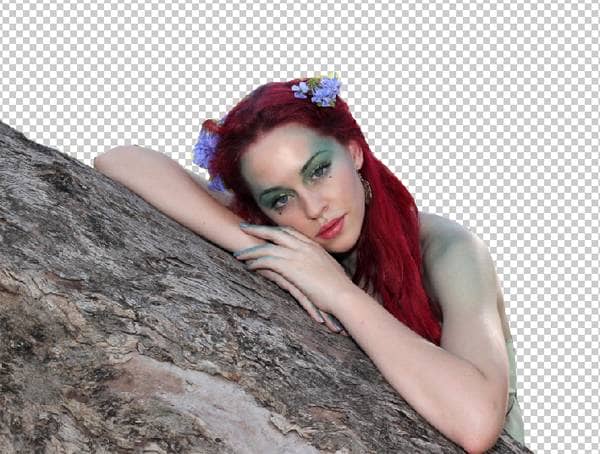
Step 5- Open a new file
To open a new file go to the menu File – New or press Ctrl+ N. The resolution is Width: 1750 x Height: 1400 pixels.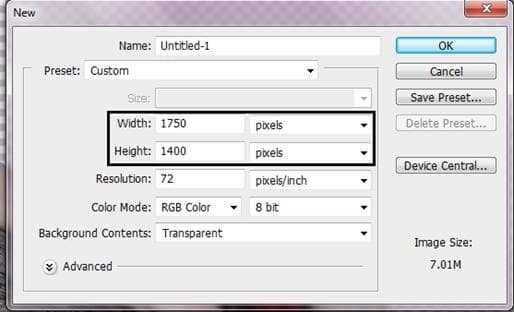
Step 6 – Resize the model.
Now put the model in the new file and change the size to fit this resolution. To change the size press Ctrl + T (Free Transform).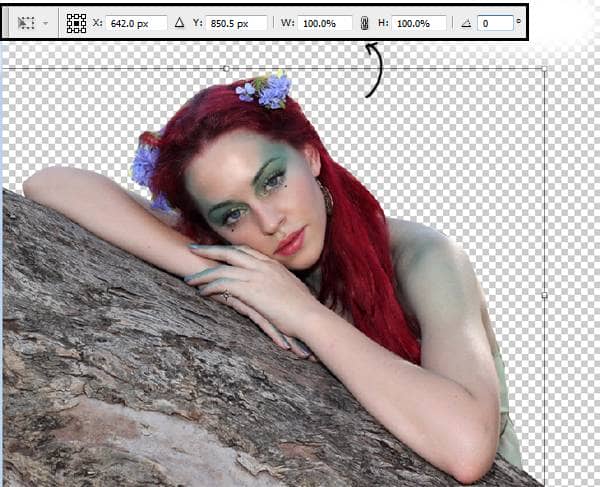
Step 7 – Find a Background
In this case, you can use a forest that doesn’t have too many branches, because the main focus is going to be the model.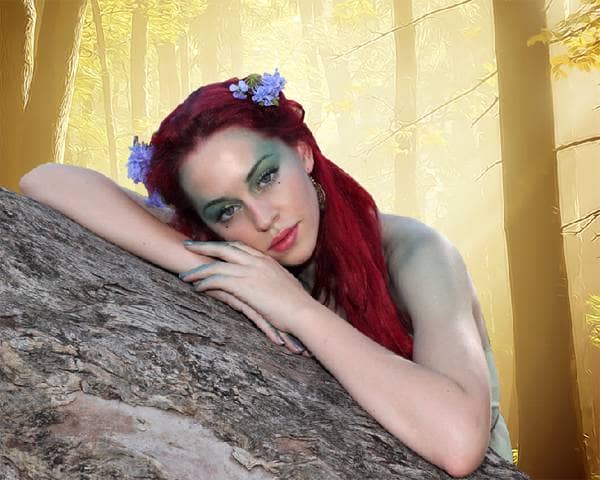
Step 8 – Gaussian Blur.
Apply blur to the background. Go to Filter – Blur – Gaussian Blur. Add a radius of 4 pixels.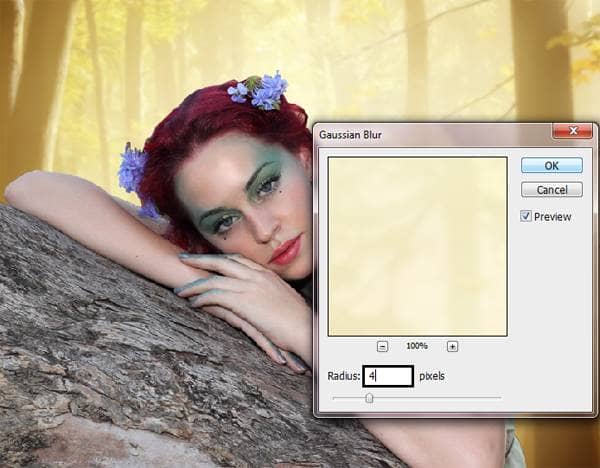
Step 9- Contrast
Duplicate the background layer, press Ctrl + J. and change the layer color, to do this go to Image – Adjustments – Hue/Saturation or press Ctrl+ U. Press the option colorize and press ok.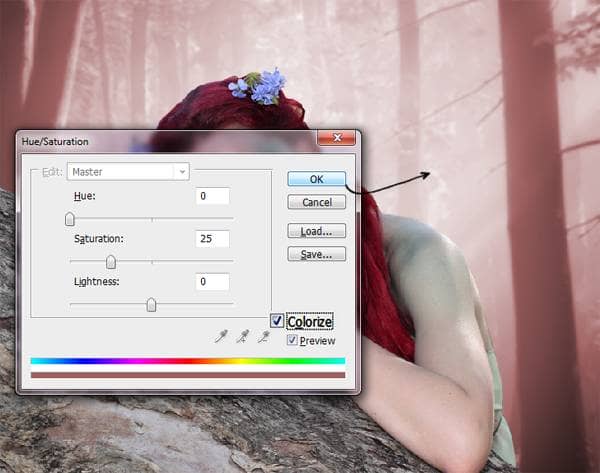
Step 10 – Change layer mode
Now change the layer mode to Soft light. And reduce the opacity to 80{a71cc4d467774ca5aab6a47fa1e18fb2136e9ecde7eb00ec12f96cbb3718c06b}.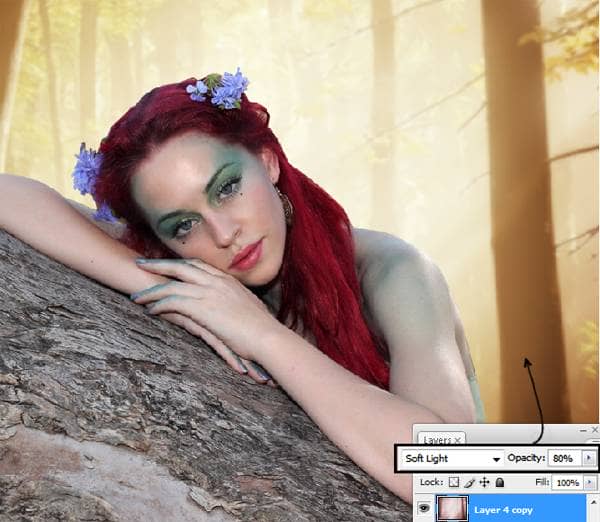
Step 11 – Merge layers.
To merge layers together, right-click in the layer and choose the option to merge down. In this way, you are only going to have one layer of the background.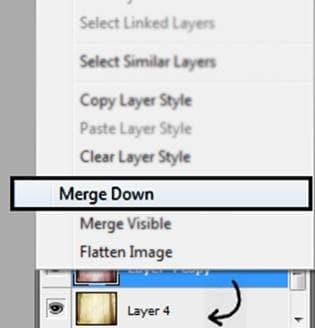
Step 12 – Model’s Skin
Select the model’s skin with the lasso tool. After you finish the selection press Ctrl+J to duplicate the selection.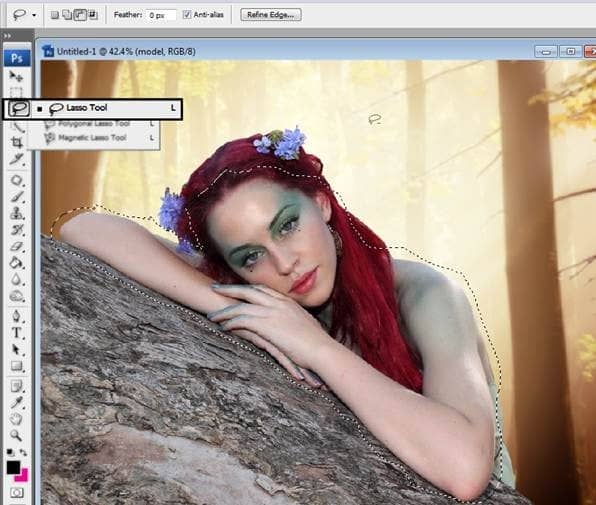
Step 13- Reduce Saturation.
Go to Image – Adjustments – Hue/Saturation (Ctrl +U) and in the option Saturation put -35, press ok to save the changes.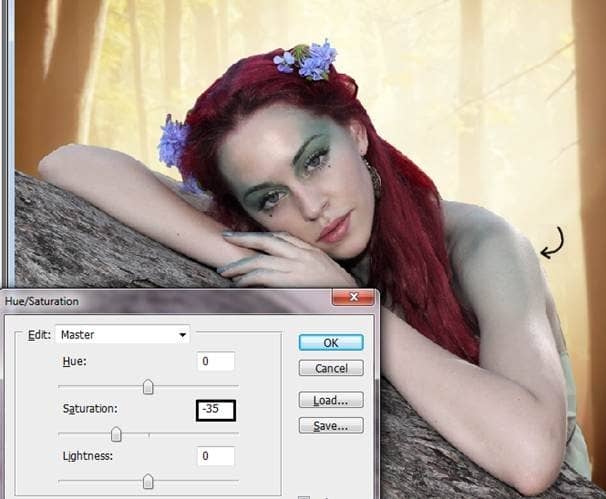
Step 14- More Contrast
Duplicate that layer and change the layer mode to Soft light and reduce the opacity to 50{a71cc4d467774ca5aab6a47fa1e18fb2136e9ecde7eb00ec12f96cbb3718c06b}.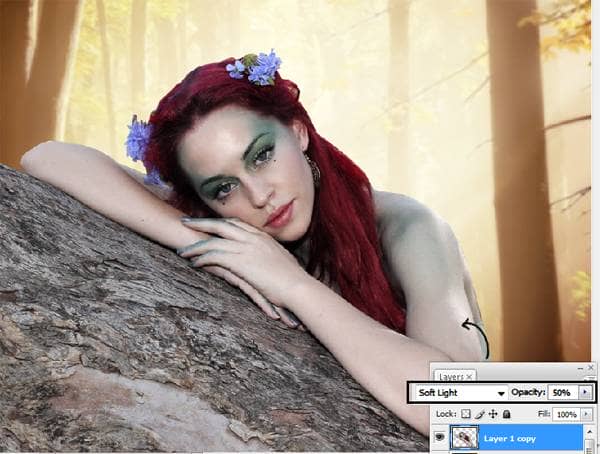
Step 15- Merge the layer
Right-click over the layer and choose the option to merge down.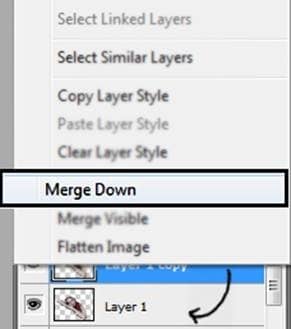
Step 16 – Change skin color.
Duplicate the model’s skin layer pressing Ctrl + J. Then go to Image – Adjustments – Hue/Saturation or press Ctrl + U. Press the option colorize and in Hue put: 22 and in saturation 20.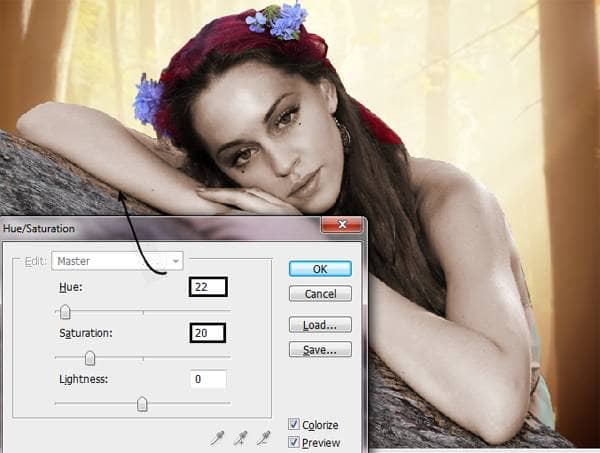
Step 17- Eraser
Use the eraser over the model’s eyes lips and hair.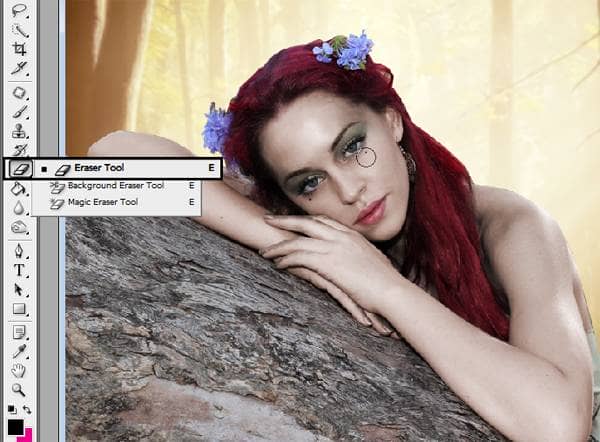
Step 18- Nails
Make a new layer Shift +Ctrl + N, and paint over the model’s nails with a soft round brush in a green tone.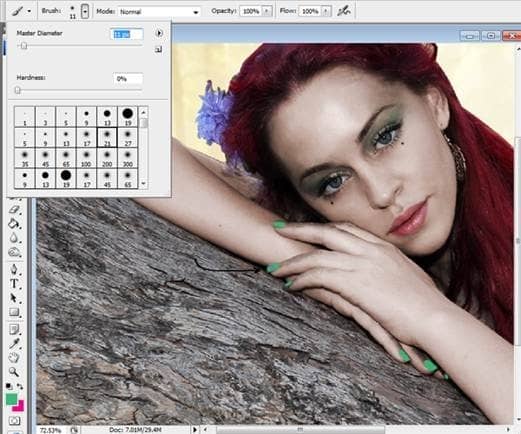
Step 19- change layer mode
Use the layer in soft light mode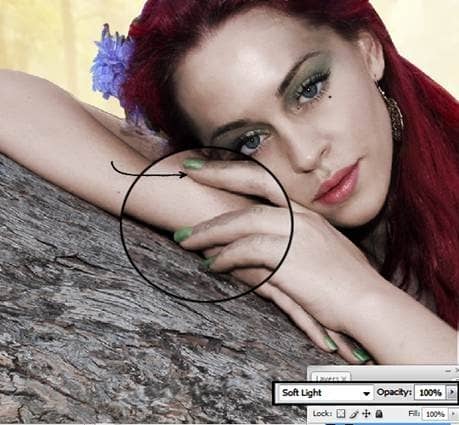
Step 20- Make up
To make the lips, you have to go to the model’s original layer select the lips with the lasso tool, then press Ctrl+J to duplicate the selection.Source link