Create this spring-inspired abstract photo manipulation by Jenny Le! This tutorial will show you how to combine stock photos and splatter brushes together, apply textures, and more.
Preview of Final Results
Tutorial Resources
- Model
- Paper 1
- Paper 2
- Watercolor 1
- Watercolor 2
- Watercolor 3
- Watercolor 4
- Watercolor 5
- Branches 1
- Branches 2
- Flowers
- Butterflies
- Halftone images
- Wiresframes
- Splatter brushes
Step 1
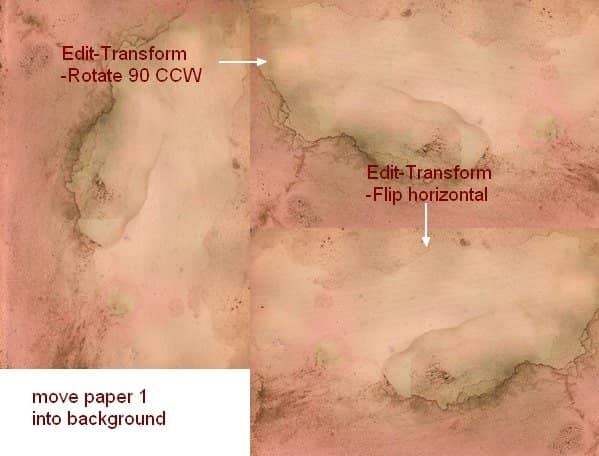
Create a new document and fill it with white. I use the size with 1200×800 but feel free to make your own. Open paper 1 stock, move it into our white canvas then rotate it (choose Edit-Transform-Rotate 90 CCW) . Right click this layer, choose Convert to Smart Objects. Then choose Flip Horizontal:
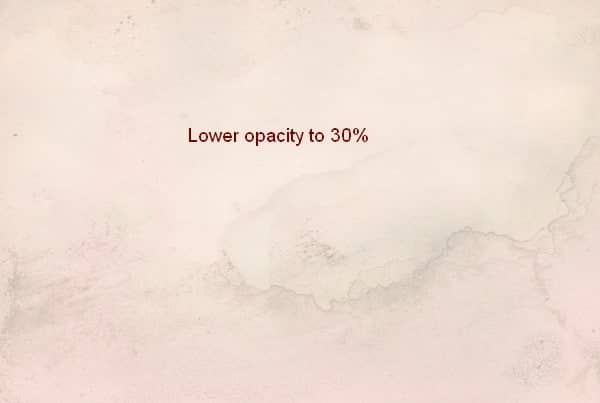
Lower opacity to 30{a71cc4d467774ca5aab6a47fa1e18fb2136e9ecde7eb00ec12f96cbb3718c06b}:
Step 2
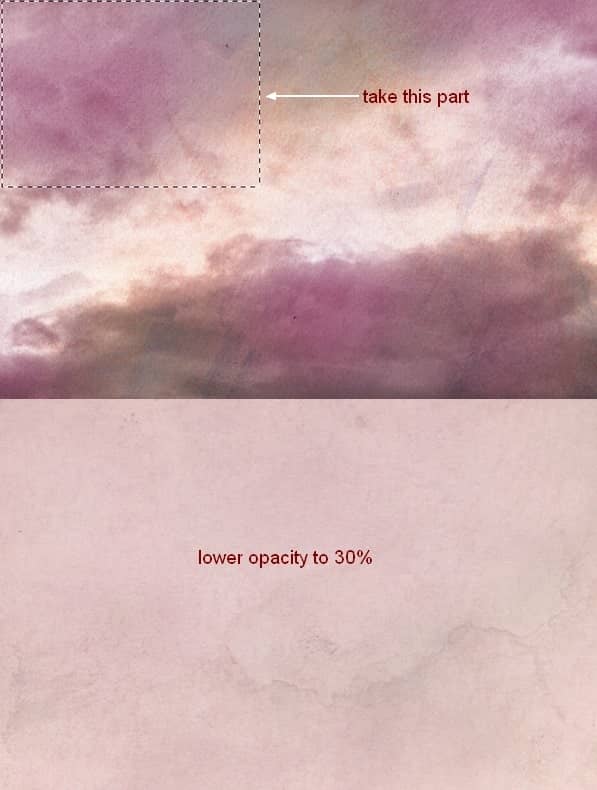
Open paper 2 stock, use Rectangular Marquee Tool to make a selection on the top left of it and use Move Tool (V) to drag it into our picture and lower opacity to 30{a71cc4d467774ca5aab6a47fa1e18fb2136e9ecde7eb00ec12f96cbb3718c06b}:
Step 3
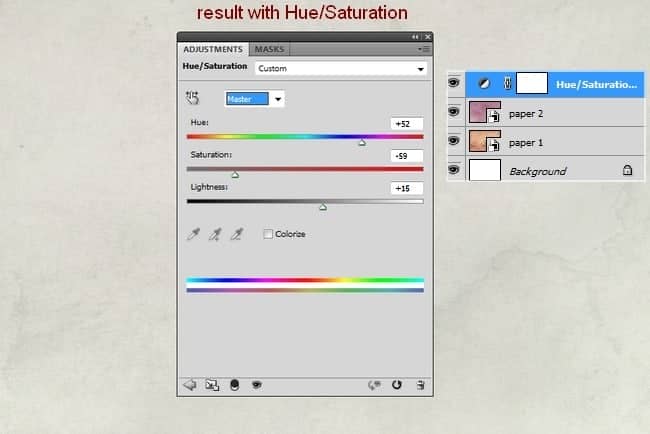
I use an adjustment layer to change color of the picture. Go to Layer-New Adjustment Layer-Hue/Saturation:
Step 4
Extract model and place her at the center section then I use layer mask to remove hard edges and blend her with background:
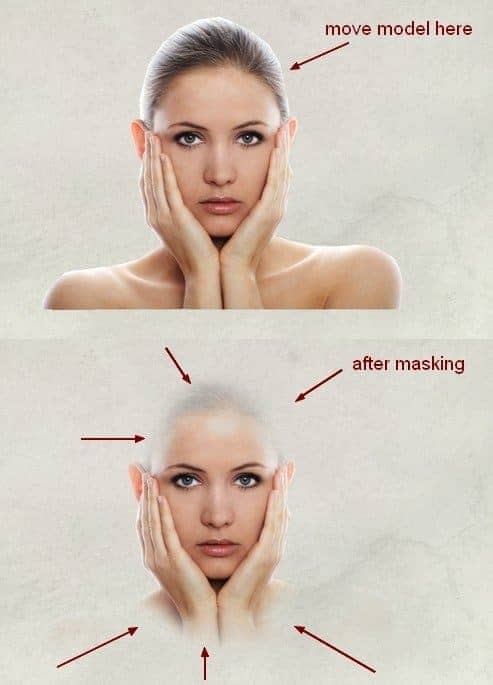
Step 5
I use some adjustment layers (Hue/Saturation, Color Balance, Curves) with Clipping Mask for model to reduce saturation and brighten her:
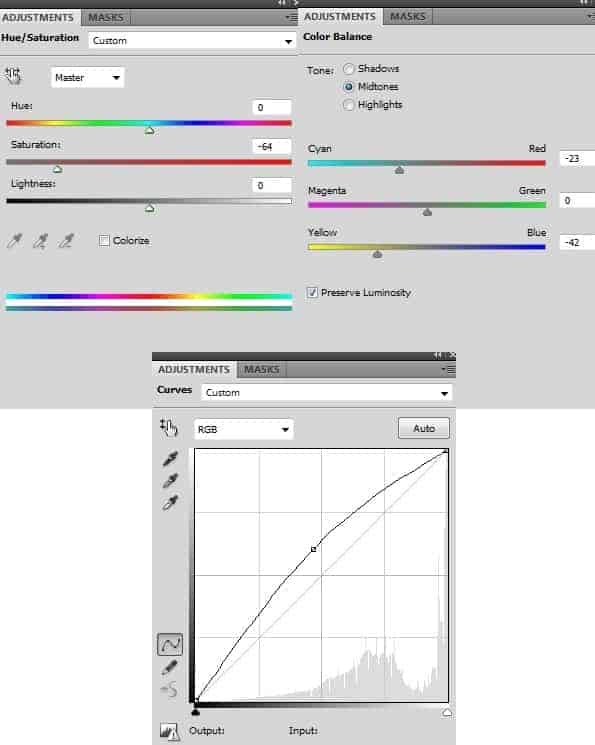
Then I use soft black brush with opacity 100{a71cc4d467774ca5aab6a47fa1e18fb2136e9ecde7eb00ec12f96cbb3718c06b} and 20-30{a71cc4d467774ca5aab6a47fa1e18fb2136e9ecde7eb00ec12f96cbb3718c06b} to erase some parts on Curves layer mask. You can see how I did it on the mask and result on picture:
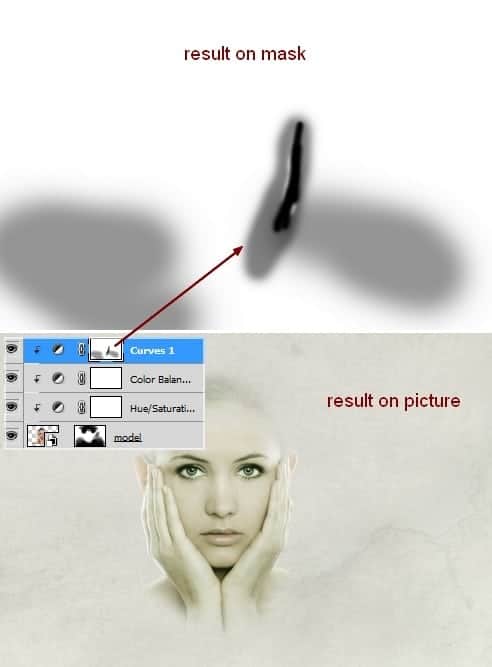
Step 6
Drag watercolor 1 into top of our picture, place it under model layer. Convert it to Smart Objects and change the mode to Multiply 100{a71cc4d467774ca5aab6a47fa1e18fb2136e9ecde7eb00ec12f96cbb3718c06b} then remove some hard edges with layer mask:
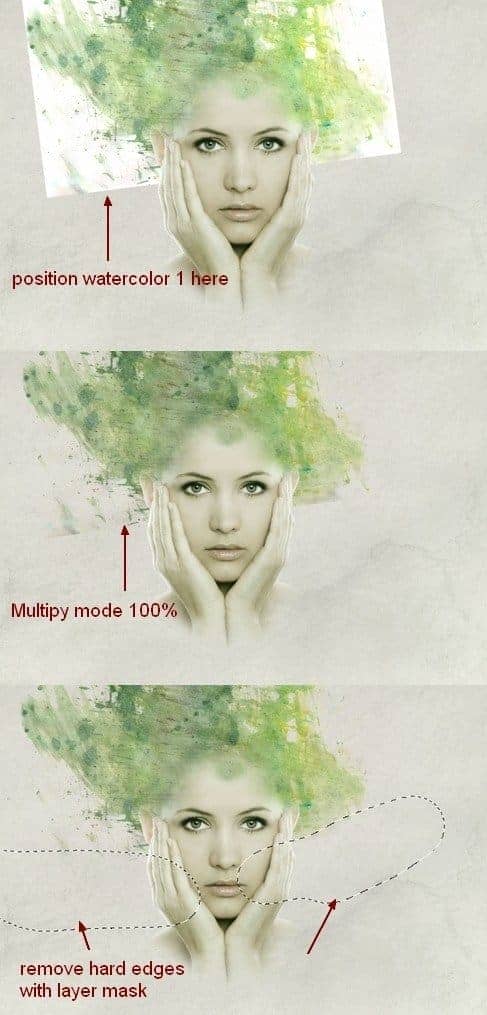
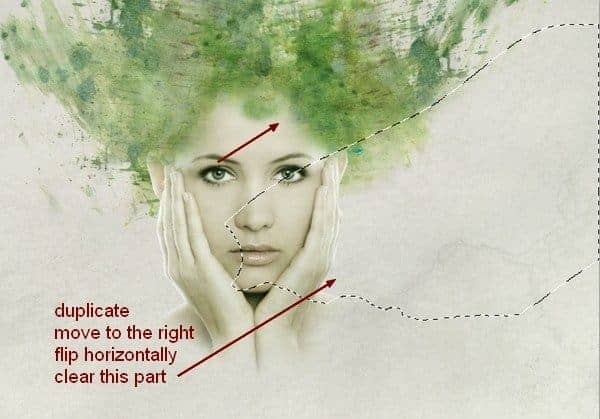
Duplicate this layer and move it to the right after flipping it horizontally. Use layer mask to create the look below:
Step 7
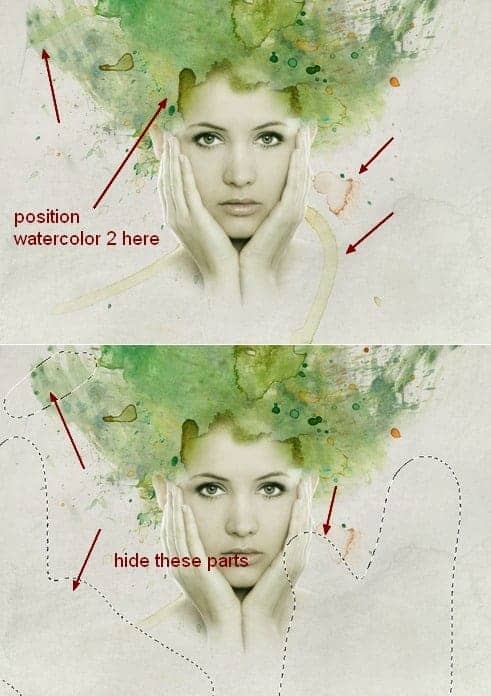
Take watercolor 2 and set it under model layer then clear unwanted parts with layer mask:
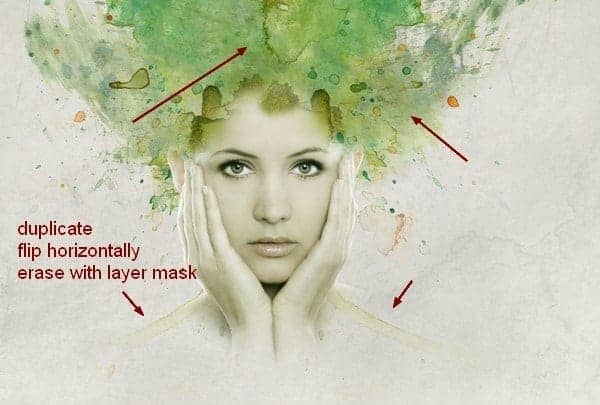
Duplicate this layer and flip it horizontally. I use layer mask to remove some parts and now we have nice shoulder-like effect:
Step 8
Isolate branches 1 and place it on the top of model head after converting it to Smart Objects and downsizing it (still under model layer). Add layer mask to this one and use Polygonal Lasso Tool (L) to make a selection at the edge of the branches then use hard black brush (don’t use soft brush) to remove the bottom and some branches as shown: