Learn how to create this creepy gothic artwork in Photoshop! In this tutorial, you will learn how to create create a symmetrical background, add reflections, and warp a face so that it looks like a child. Try it out!
Preview of Final Results
Resources
- Gothic Lolita – Kechake-stock
- Floor – SkyesStock
- Dress form – JinxMim
Clocks – JinxMim(Alternative)- White Rabbit – Tilt-Stock
Stormy Sky – EvanescentStock(Alternative)- Wall Crest – AshenSorrow
- Texture – SXC.hu
Step 1
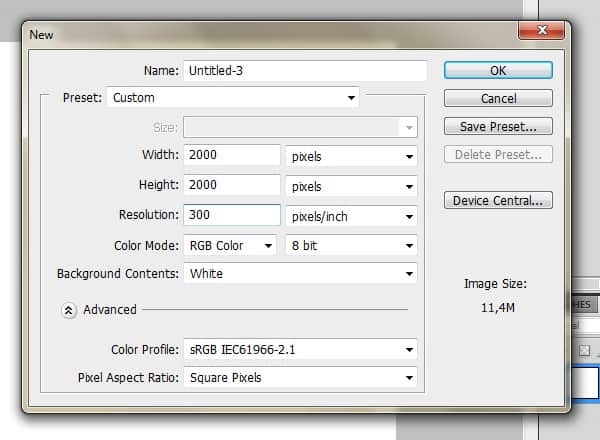
Create a new file, 2000x2000px 300dpi.
Step 2
Now take the floor stock and paste it on the canvas.
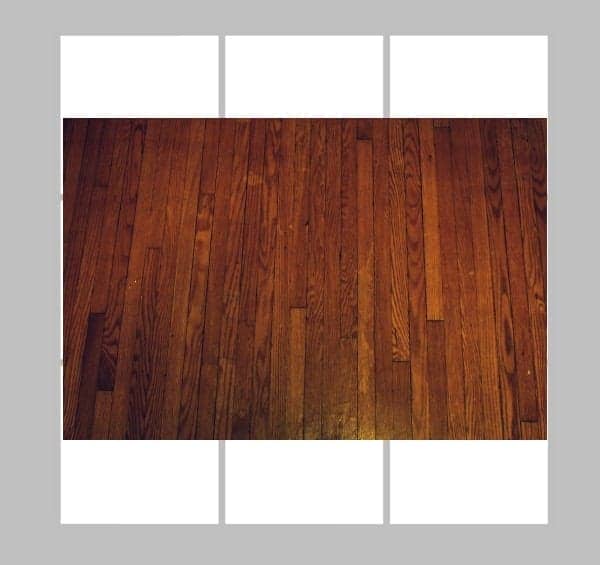
Hit Ctrl + T and stretch it from the corners so that it’s large enough to cover it.
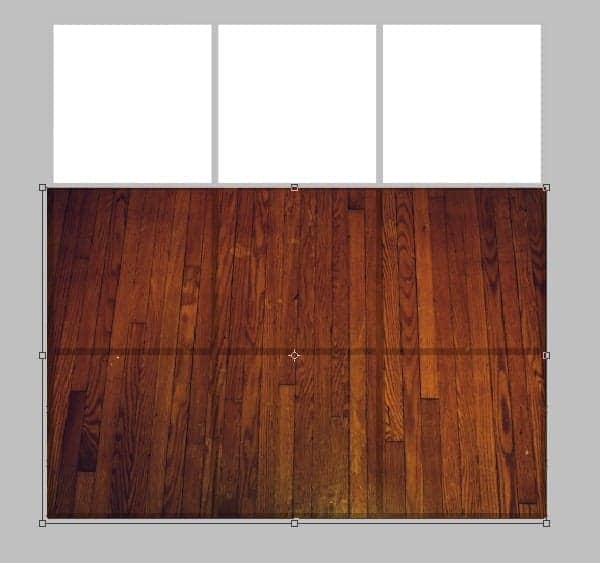
Then pull it down from the upper border to get a realistic-looking floor. Hit Enter to exit the Transform.

Step 3
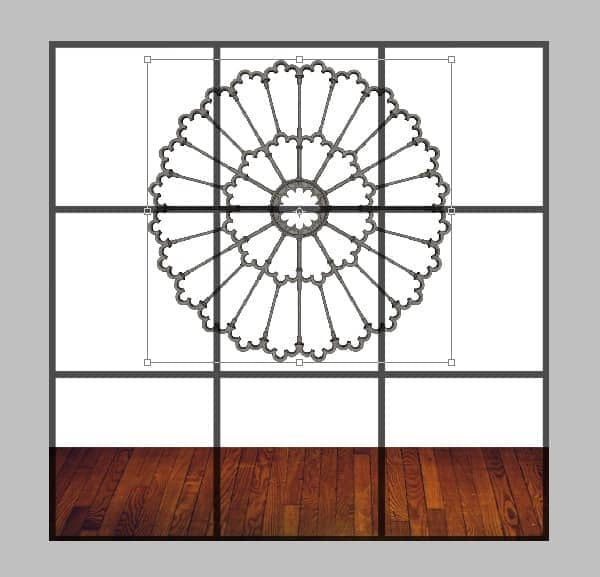
Now take the wall crest and place it in the middle. Resize if needed. Be sure to keep it on a separate layer.
Step 4
Take the wallpaper tile and enlarge it so that you can see the pattern better. The wallpaper layer should be under the wall crest layer.
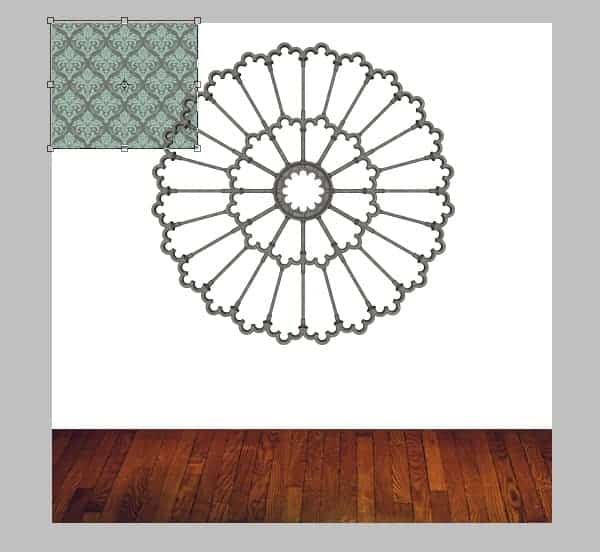
Duplicate the tile (Layer > Duplicate Layer) and move it beside the first one – make sure there are no gaps between tiles!
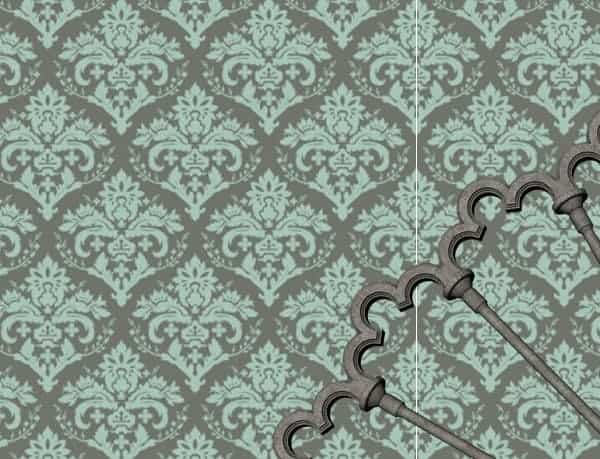
Merge the tiles together. (Select both layers on the layer palette and press Ctrl + E)
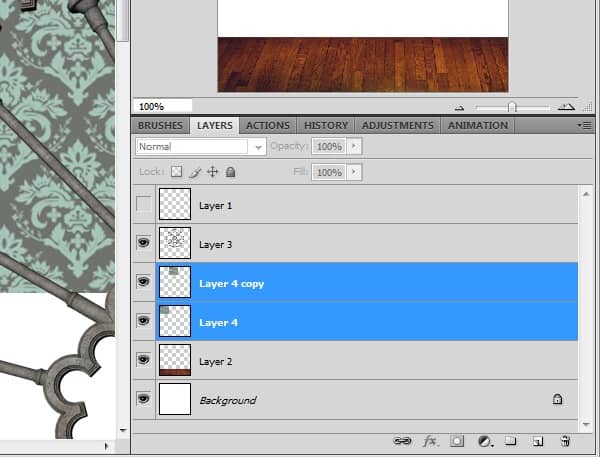
Step 5
Duplicate the layer with two tiles and place the duplicate under them. Again, look out for gaps where the background is showing.
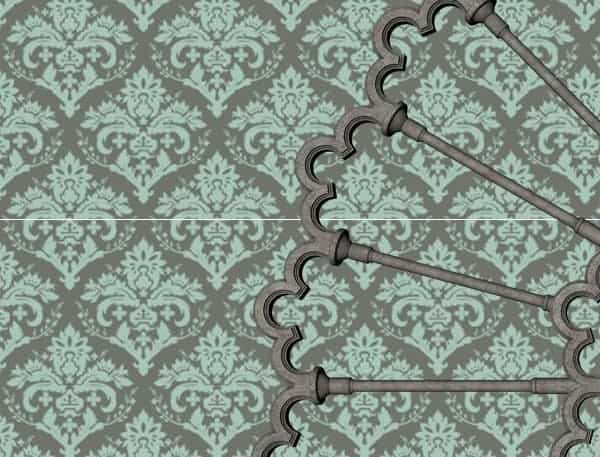
Step 6
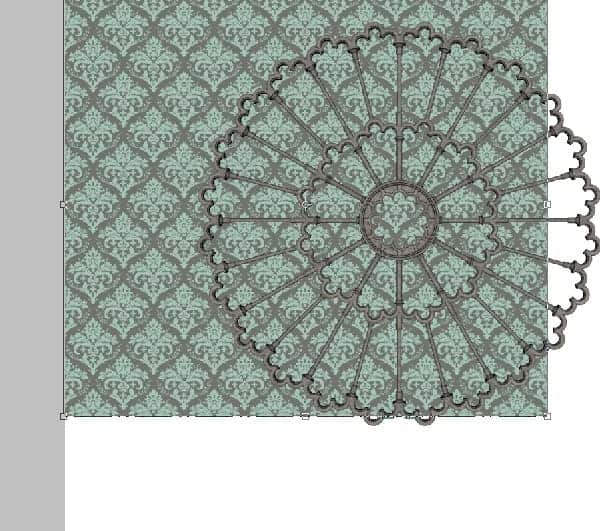
Keep working on the pattern by duplicating and merging them the tiles together. You can also make it a bit larger. (Ctrl + T and then stretch from the corners)
Step 7
Now the whole wall is done – but just to be sure, zoom in to 100{a71cc4d467774ca5aab6a47fa1e18fb2136e9ecde7eb00ec12f96cbb3718c06b} to make sure there are no spaces. All tiles must be merged together on one layer.
Step 8
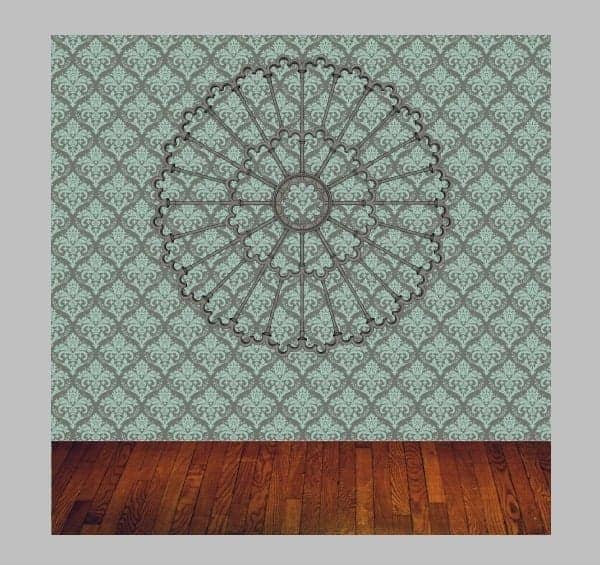
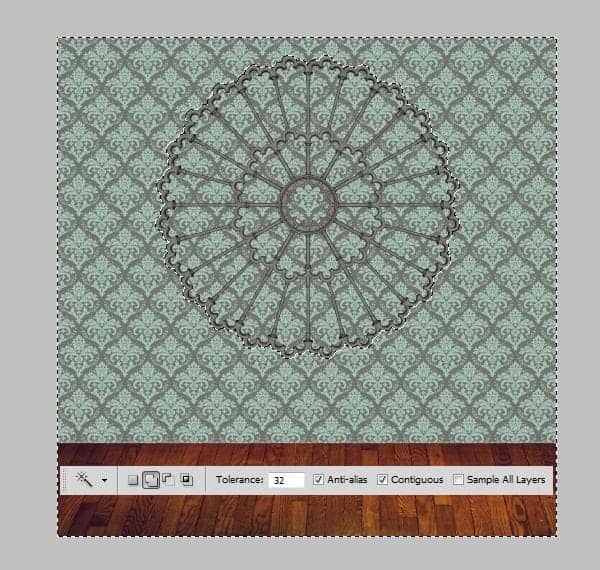
Go back to the wall crest layer and click on the area around the crest with the Magic Wand Tool (W). You should have a similar selection. Make sure the contiguous box is checked when you select.
Step 9
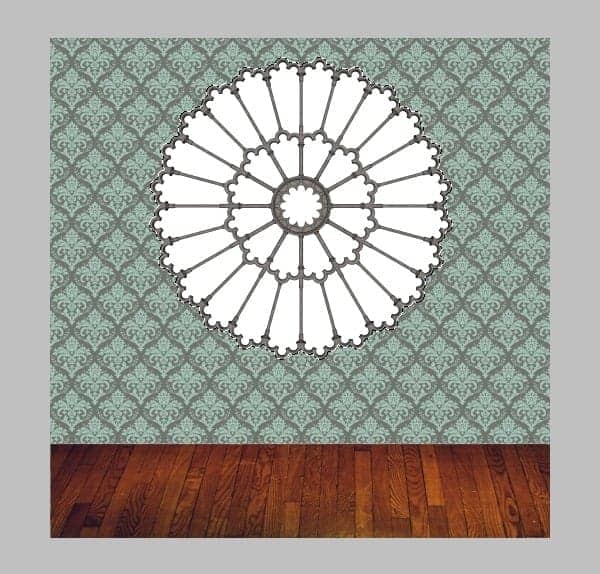
Now go to the wallpaper layer and hit Ctrl + Shift + I and your selection will invert. Hit Delete to clear the area inside the wall. Finally, press Ctrl + D to release the selection.
Step 10
Place stormy sky on a new layer under the crest. Resize it a little until the clouds look pretty.
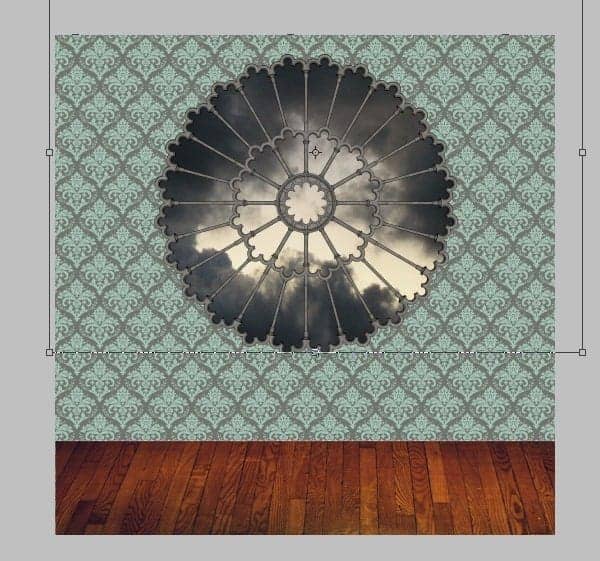
This is the result you should be seeing.

Step 11
For color correcting, go to Image > Adjustments > Brightness/Contrast and move the sliders to settings shown (-150 and -35). Also move the Vibrance slider to -60.