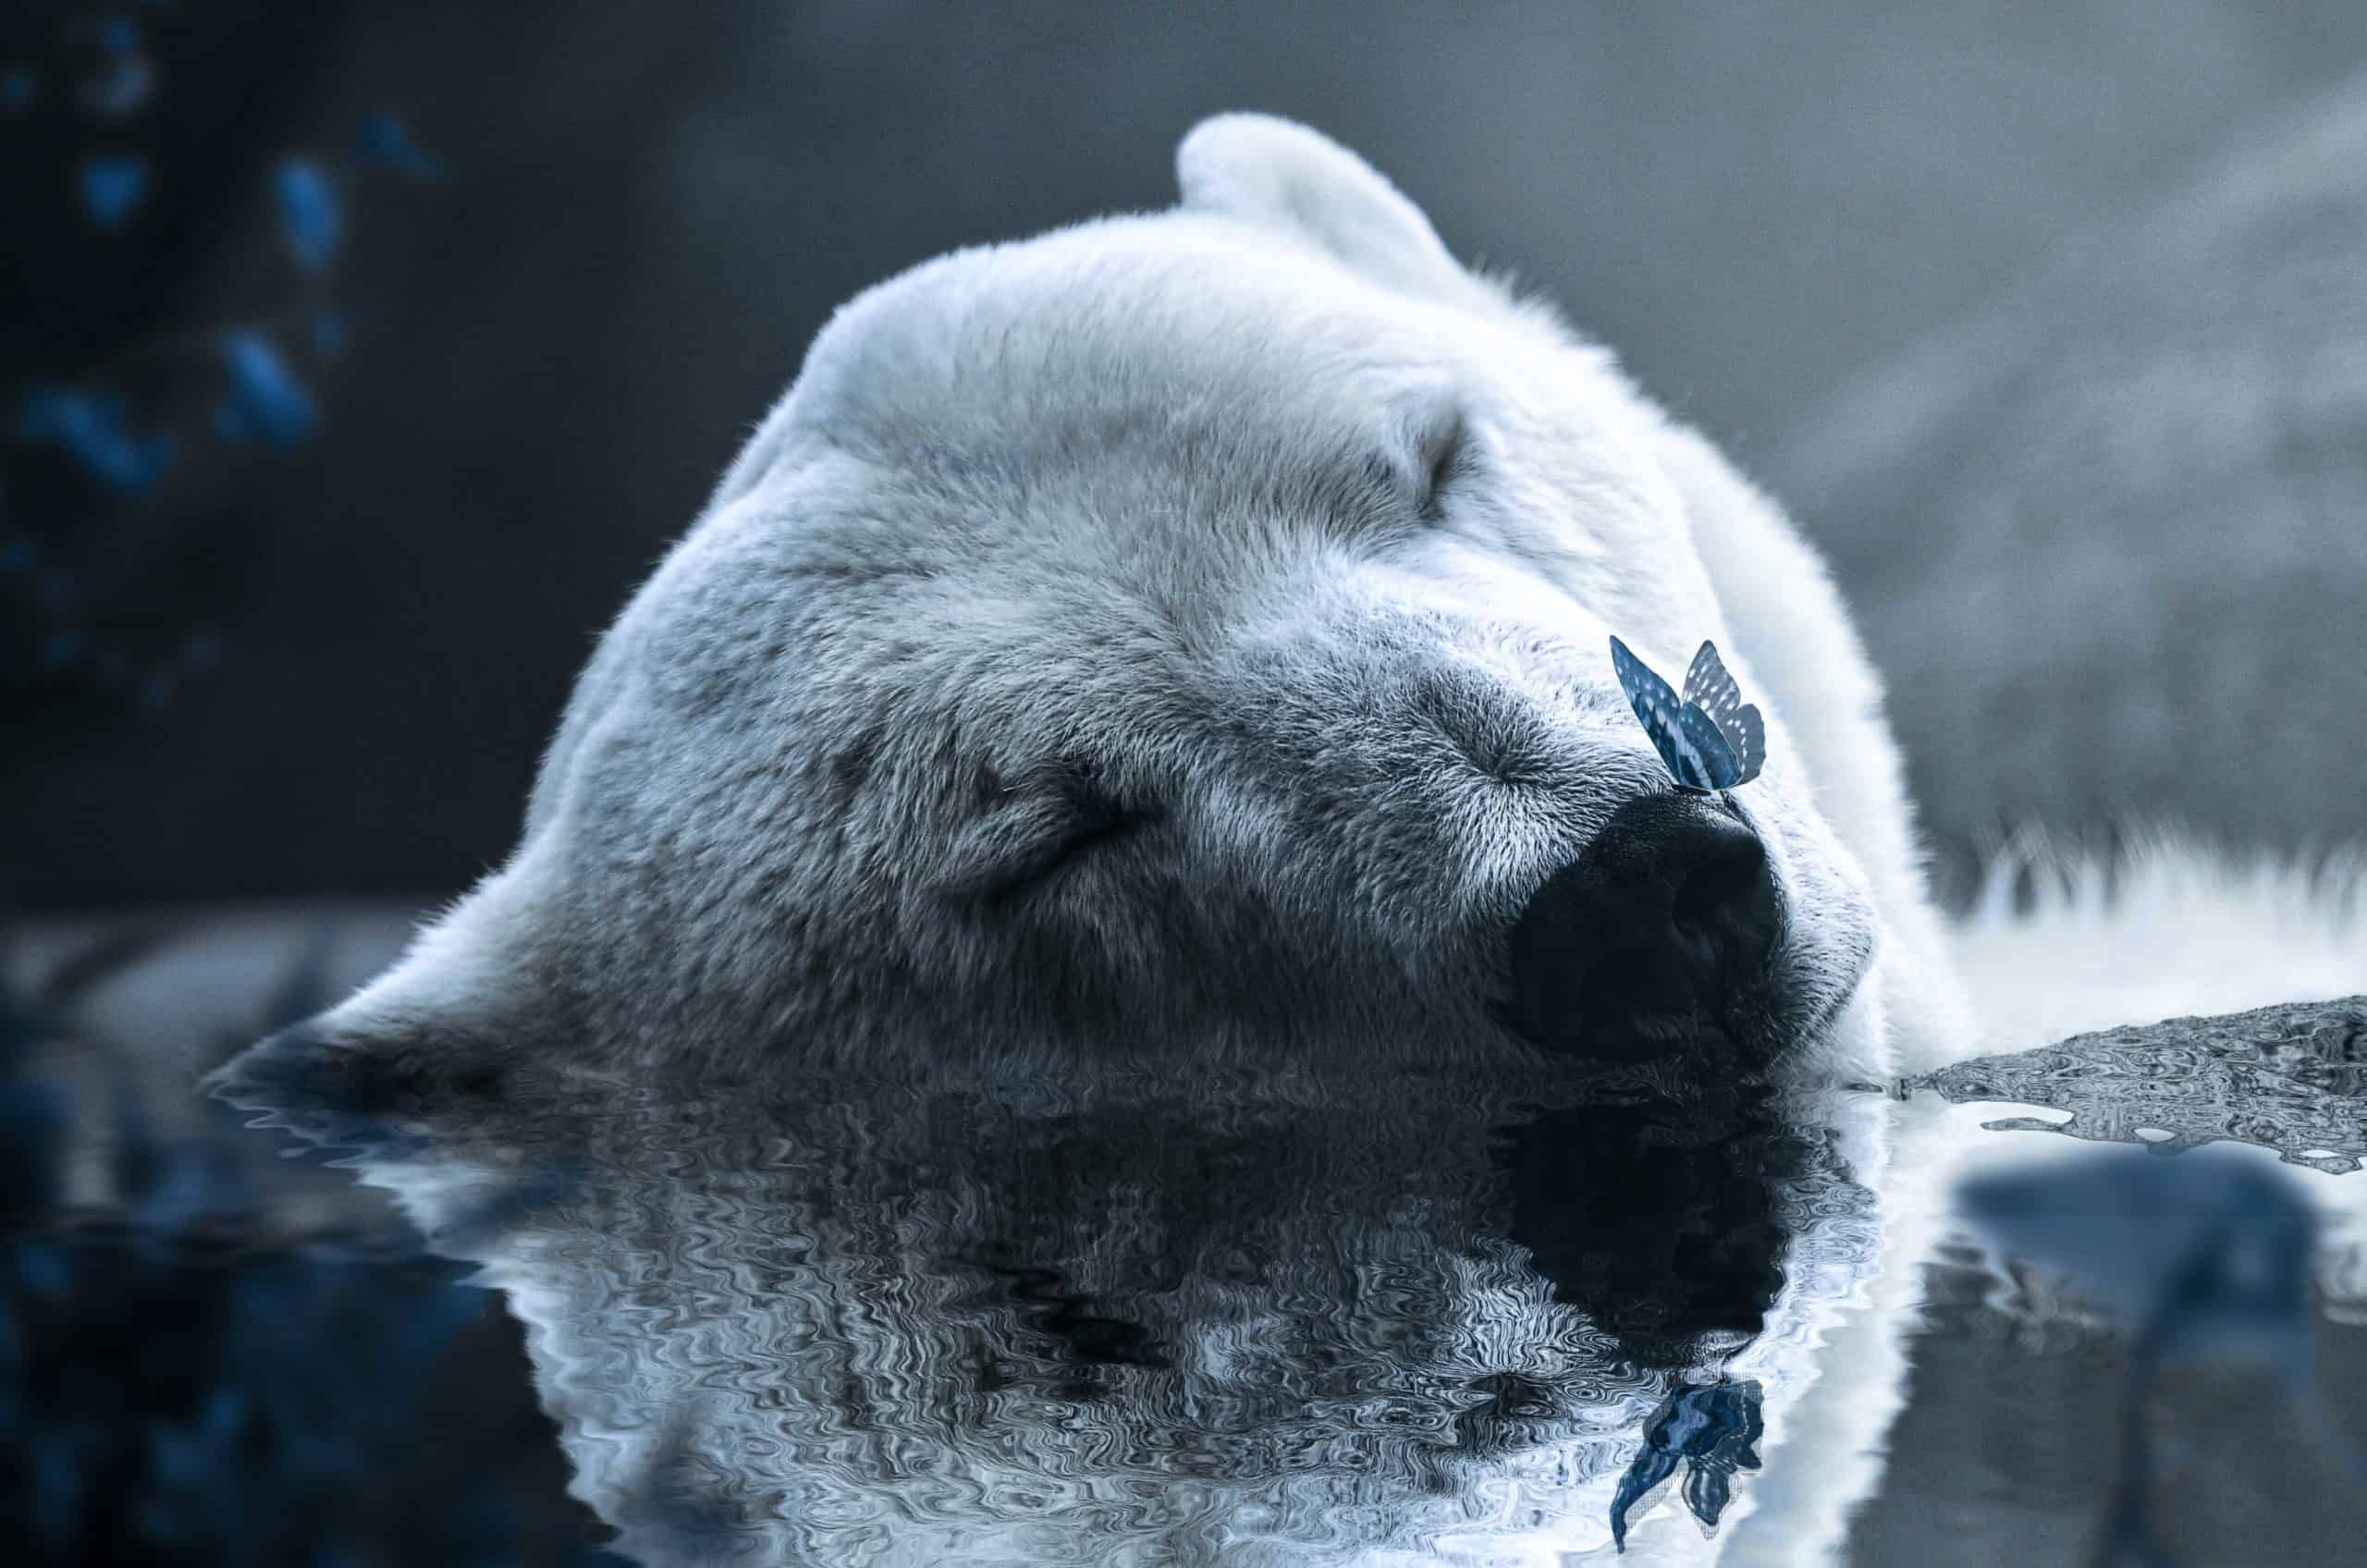
Polar bears did very well in warmer times. They didn’t die out at all; they didn’t die out in the last 10,000 years, nor during the previous interglacial, nor the one before that. So, they’re just used as a deceitful heartthrob; you know, to pluck your heartstrings because the polar bears might die out. In this Photoshop tutorial, we learn how to create a water reflection with some ivy and some Adjustment layers. Finally, we used a camera raw filter.
Preview of Final Image
Tutorial Resources
Step 1
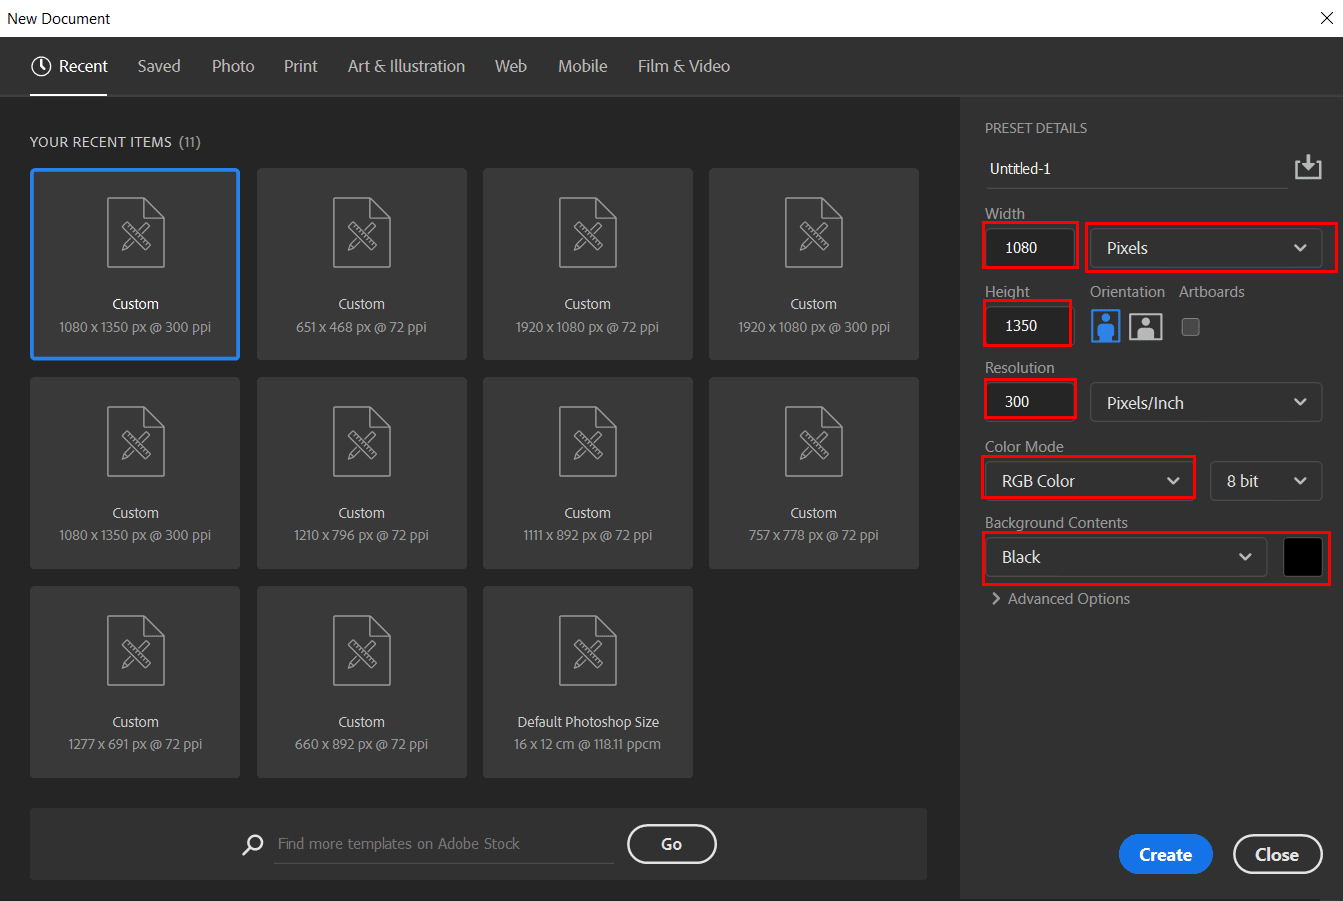
Now, let’s start by creating a new image file, go to the Menu bar and click File > New, and then input the following values on their respective fields- Width: 1080
- Height: 1350
- Resolution: 300
- Color Mode: RGB Color 8 bit
- Background Contents: Black
Step 2
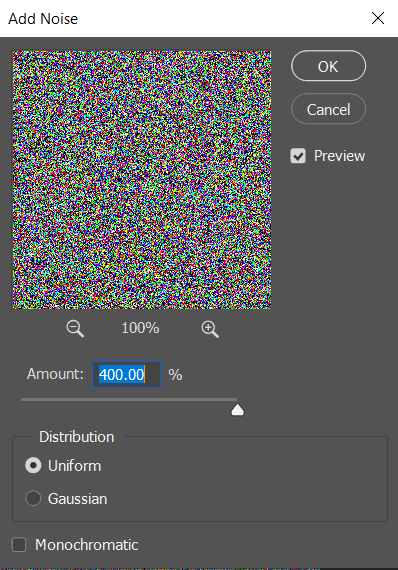
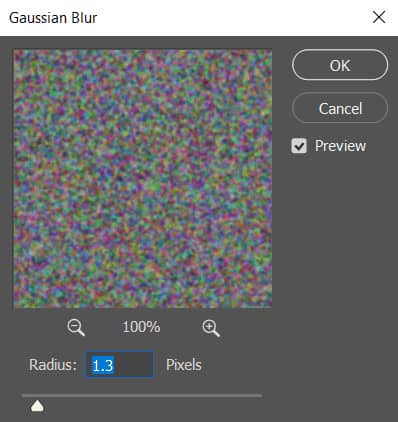
Now, go to Filter > Noise > Add Noise and set Amount to 400{a71cc4d467774ca5aab6a47fa1e18fb2136e9ecde7eb00ec12f96cbb3718c06b} and Distribution to Uniform then press Ok.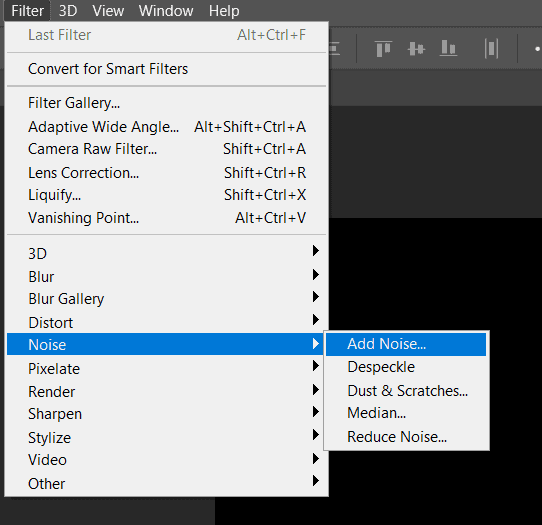
Step 3
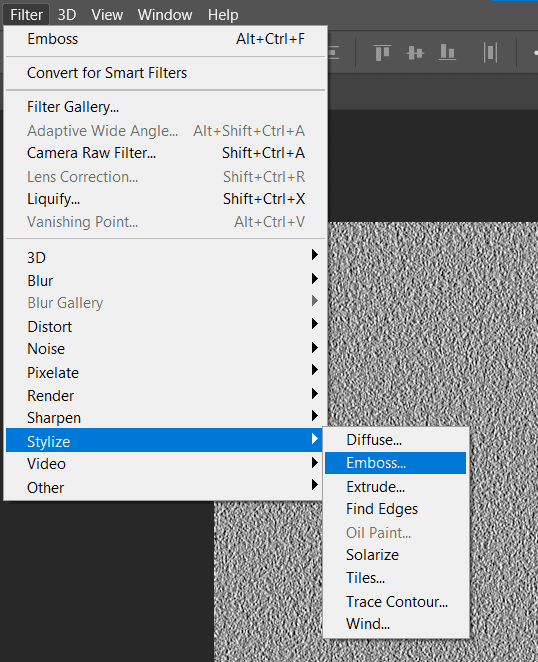
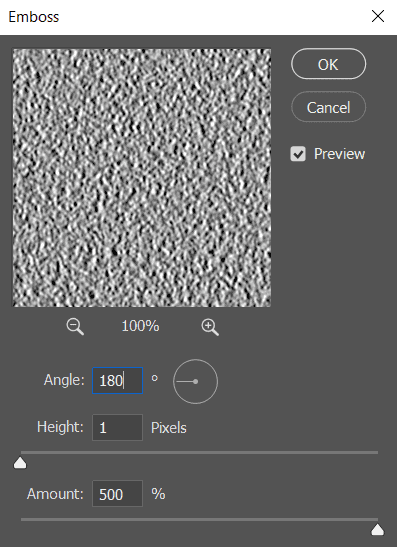
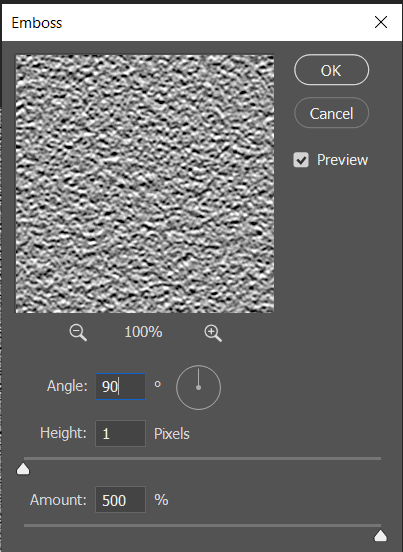
Go to Channels and select Red. Then go to Filter > Stylize > Emboss and set Angle to 180, Height to 1px and Amount to 500{a71cc4d467774ca5aab6a47fa1e18fb2136e9ecde7eb00ec12f96cbb3718c06b}.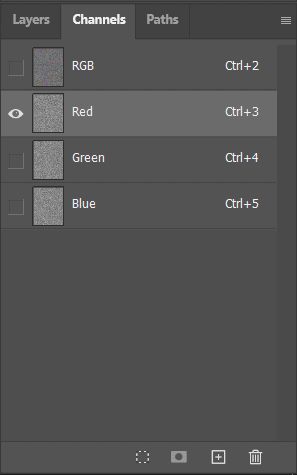
Step 4
Click on Green one Channel and again go to Filter > Stylize > Emboss and change Angle to 90.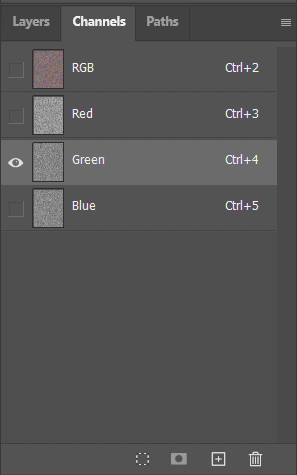
Step 5
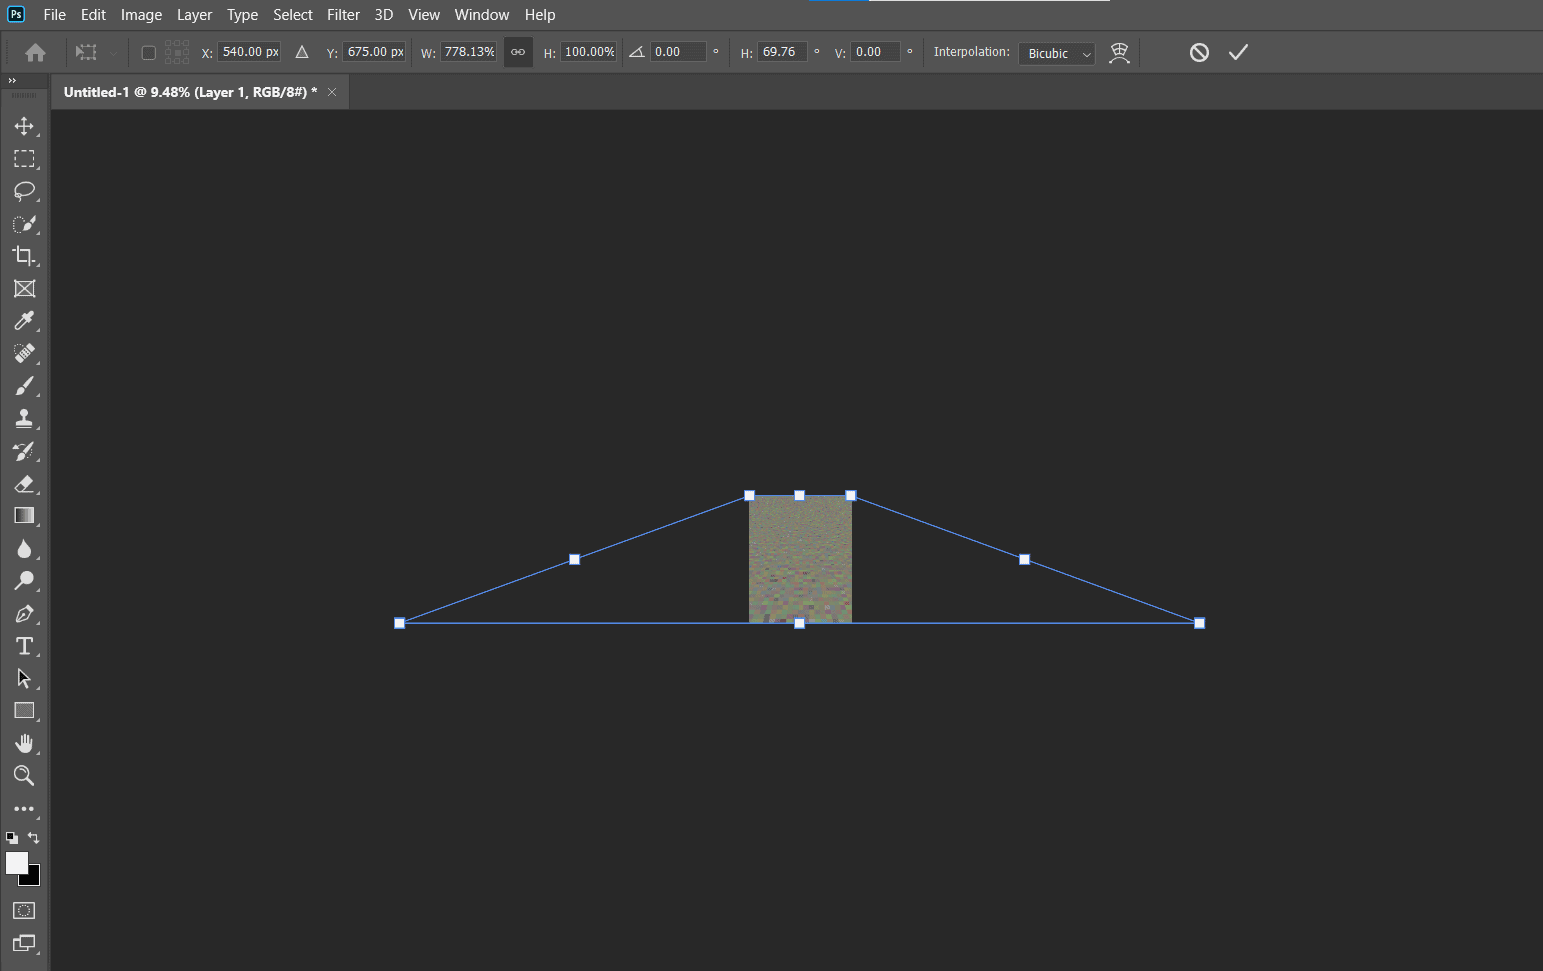
Now press on RGB Channel and back to Layers and duplicate this layers, press Ctrl/Cmd + J. Zoom out little bit and press Ctrl/Cmd + T to transform it. Go to Menu bar and click on Edit > Transform > Perspective. Stretch bottom part as much possible and press Enter. Something like this and save it to PSD File (Name it Displace).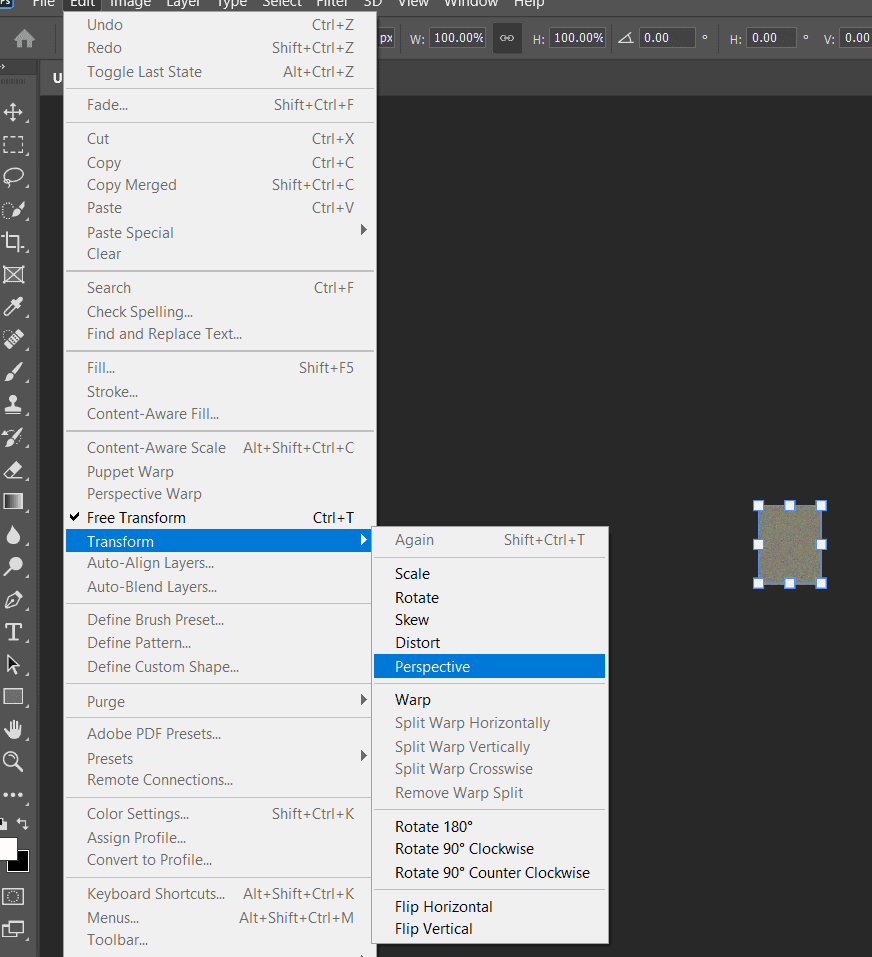
Step 6
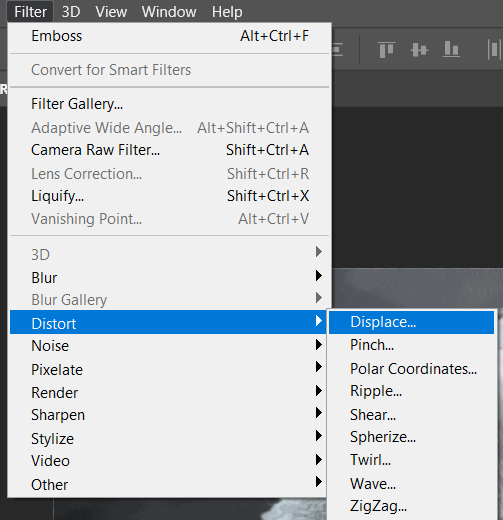
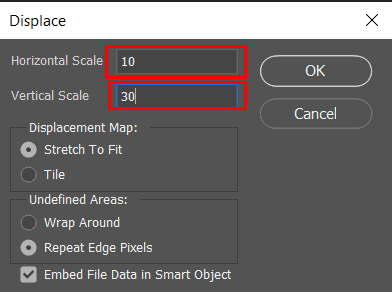
Now open Stock image Bear. Go to File > Open and select Bear. Then press Ctrl/Cmd + J to duplicate it. Then go to Filter > Distort > Displace and select PSD file just we created.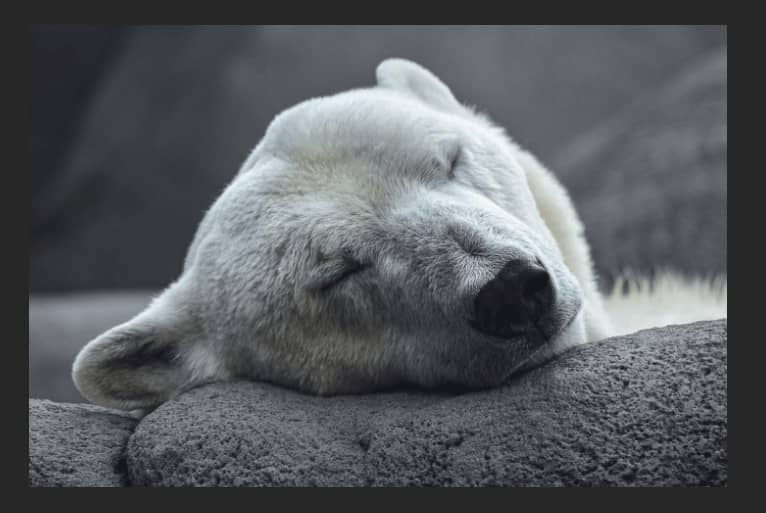
Step 7
Go to Edit > Transform > Flip Vertical then create a layers mask.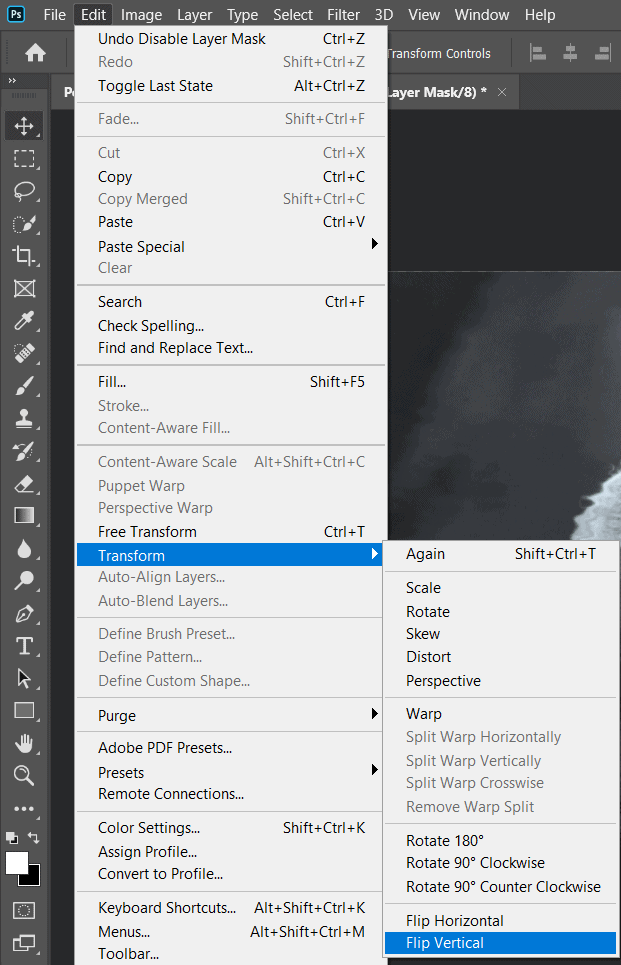

Step 8
Now use a Gradient Tool(G) and apply to layer mask with foreground color black/white , look at pictures bellow.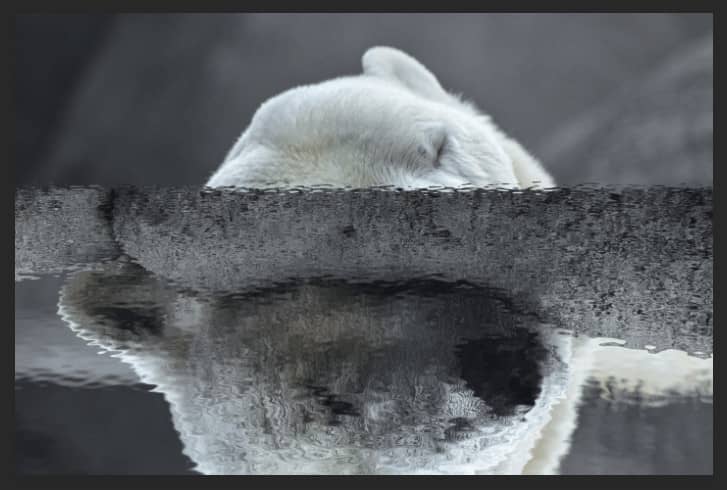
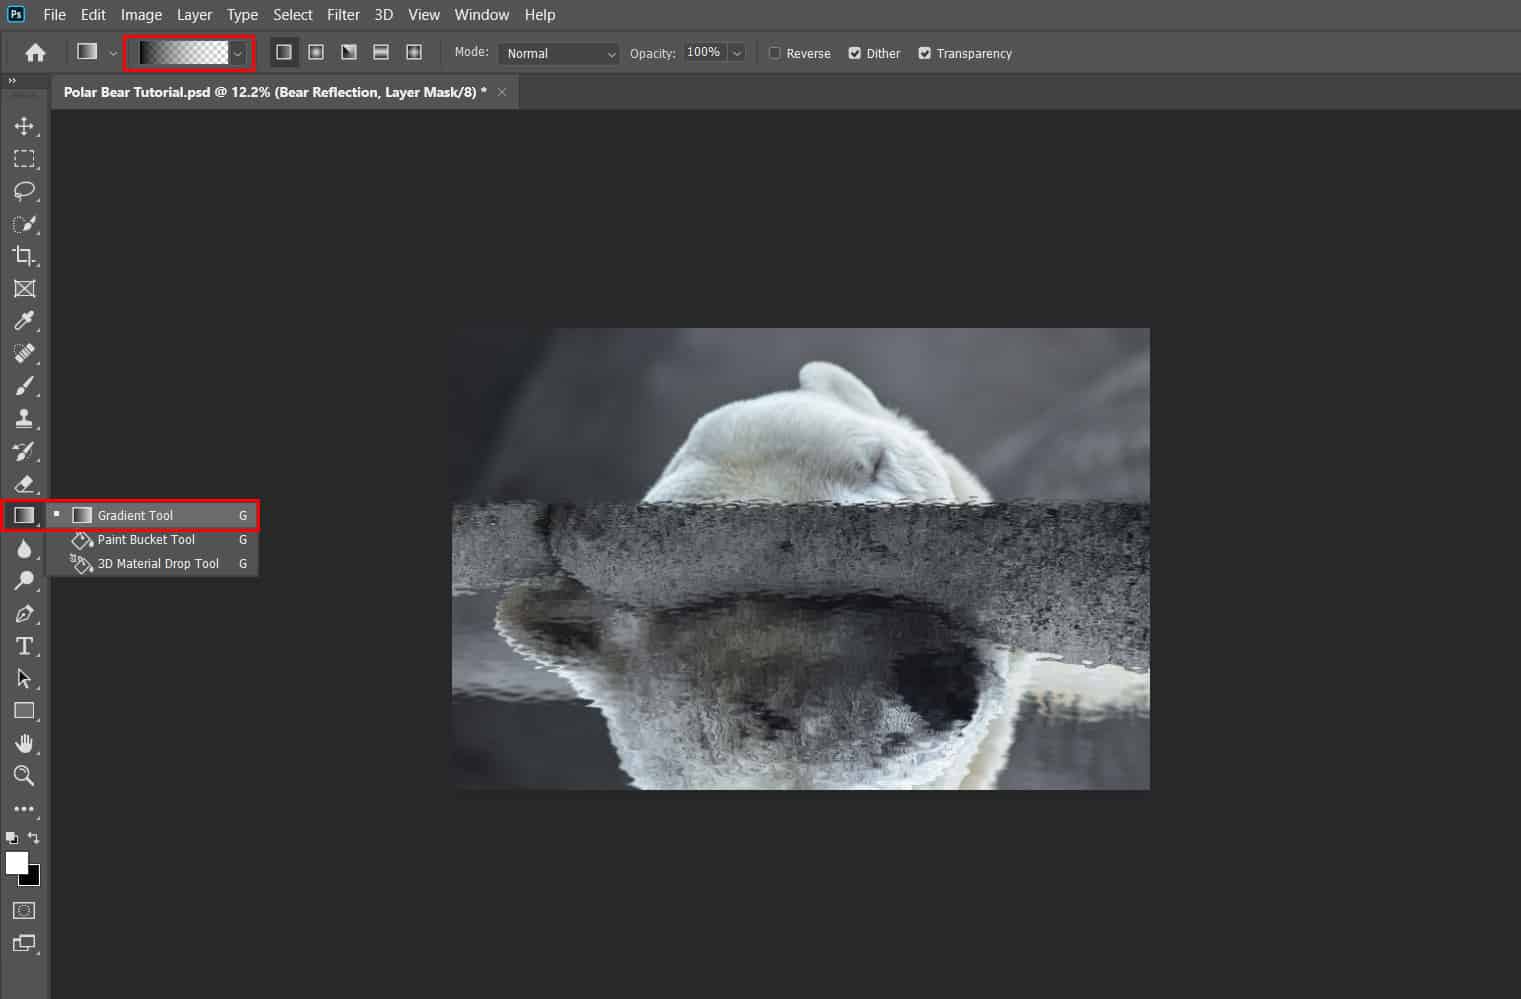
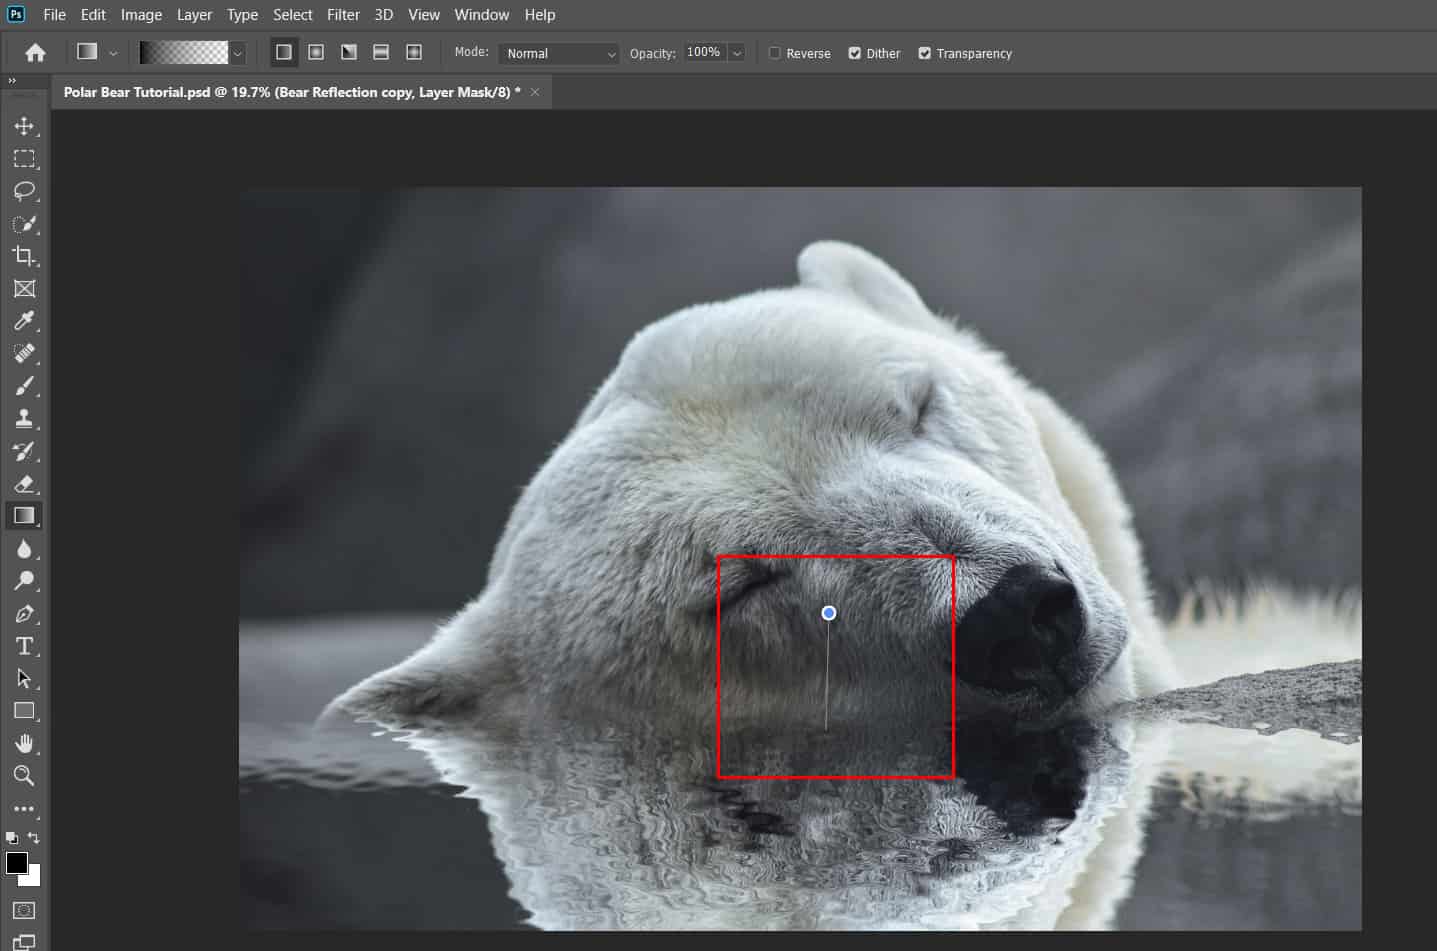
Step 9
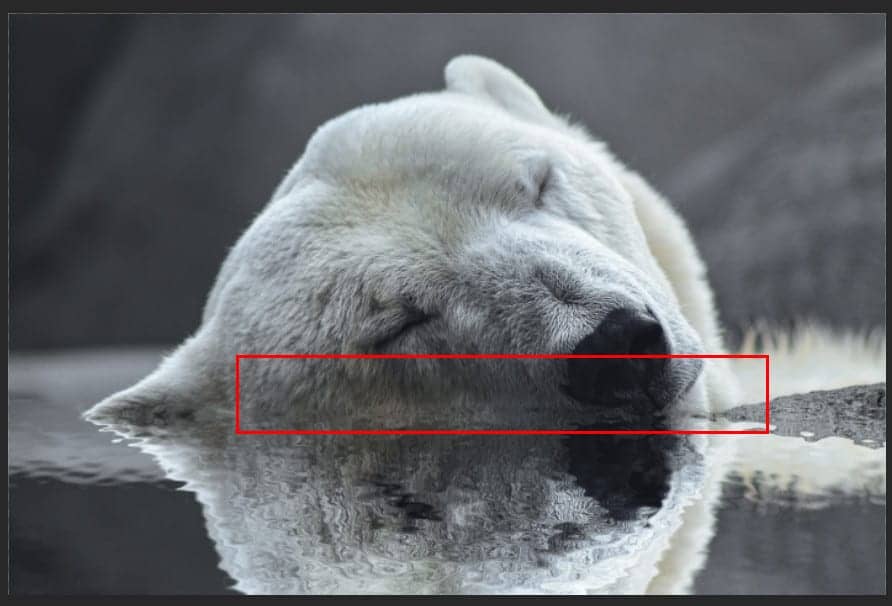
Next thing we to do is shadow, so create a new layer and use Brush Tool(B) Soft Round with foreground color black and drop flow and opacity to 15{a71cc4d467774ca5aab6a47fa1e18fb2136e9ecde7eb00ec12f96cbb3718c06b} and start painting the line betwen Bear and water reflection.
Step 10
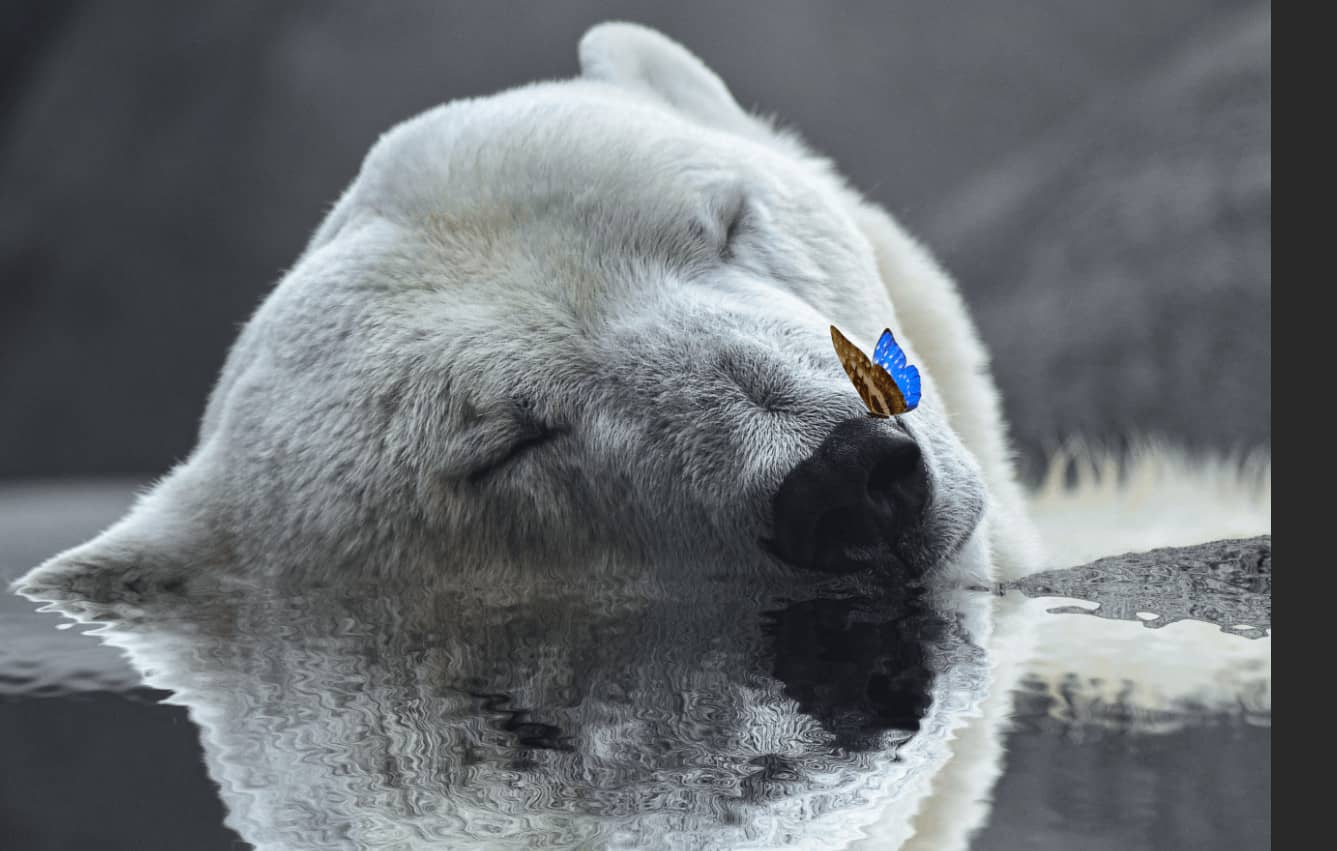
Next we will openButterfly. After you open the image, use Lasso Tool(L) and start selecting butterfly. After the selection area has been created, simply copy (Ctrl / Cmd + C) and Paste (Ctrl / Cmd + V) it to our work canvas. Then position the image with the transform tool (Ctrl / Cmd + T). Hold Alt + Shift and resterize like image below. In Photoshop CC only hold Alt to resterize al sides together.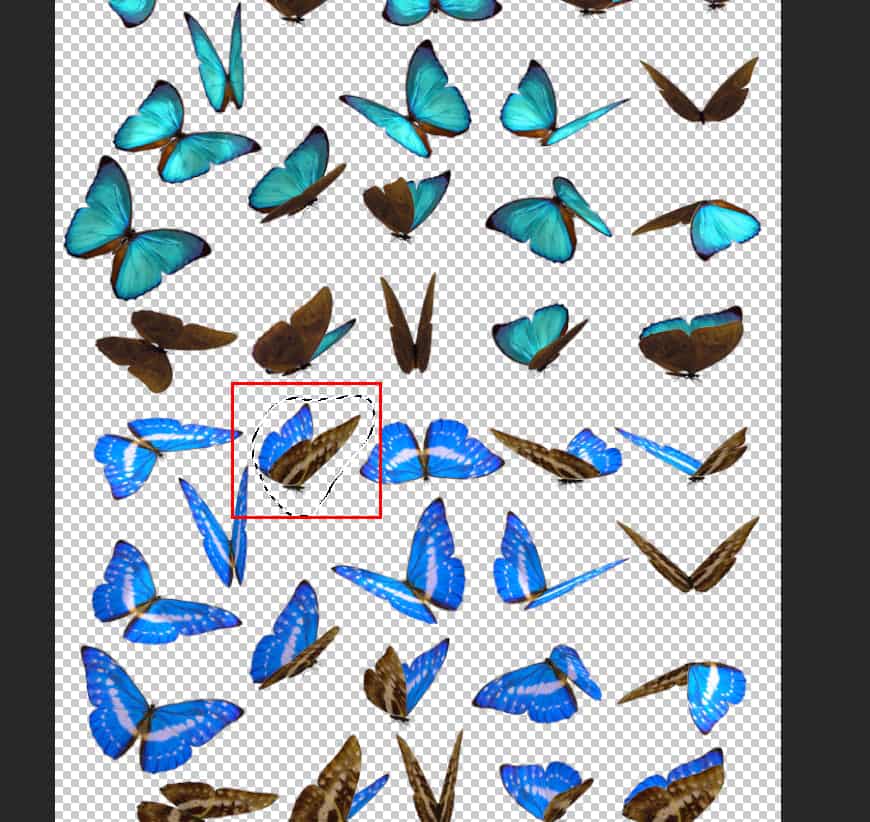
Step 11
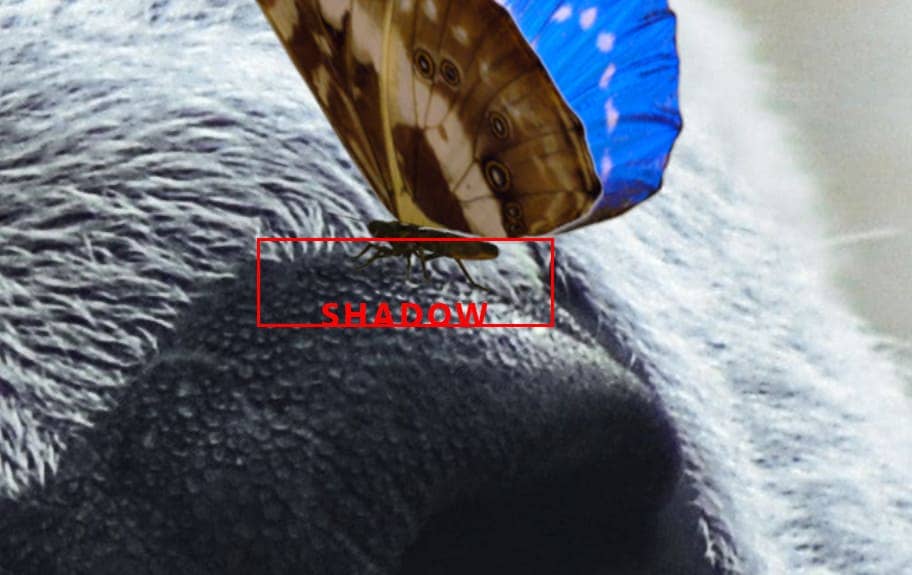
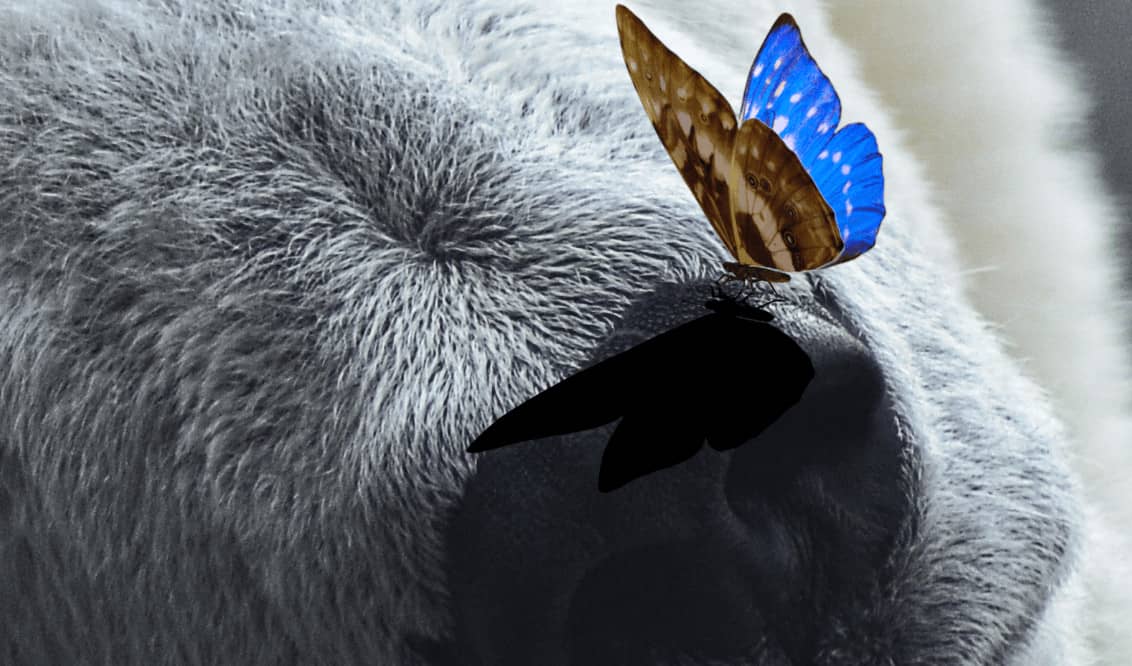
Next, we need to create a shadow, hold Ctrl/Cmd and press create a new layer icon. Then use a Brush Tool(B) Soft Round with foreground color black and start painting the shadow but first drop a flow to 10{a71cc4d467774ca5aab6a47fa1e18fb2136e9ecde7eb00ec12f96cbb3718c06b}.
Step 12
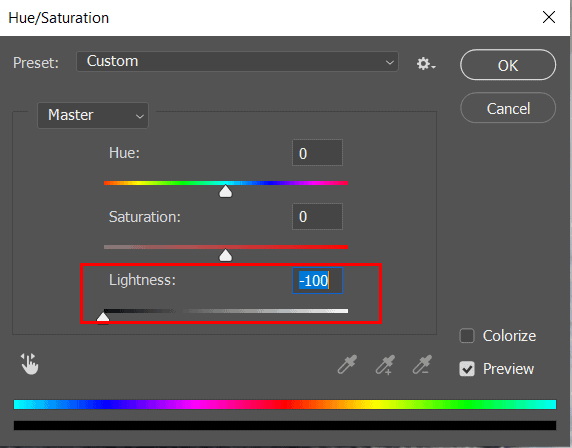
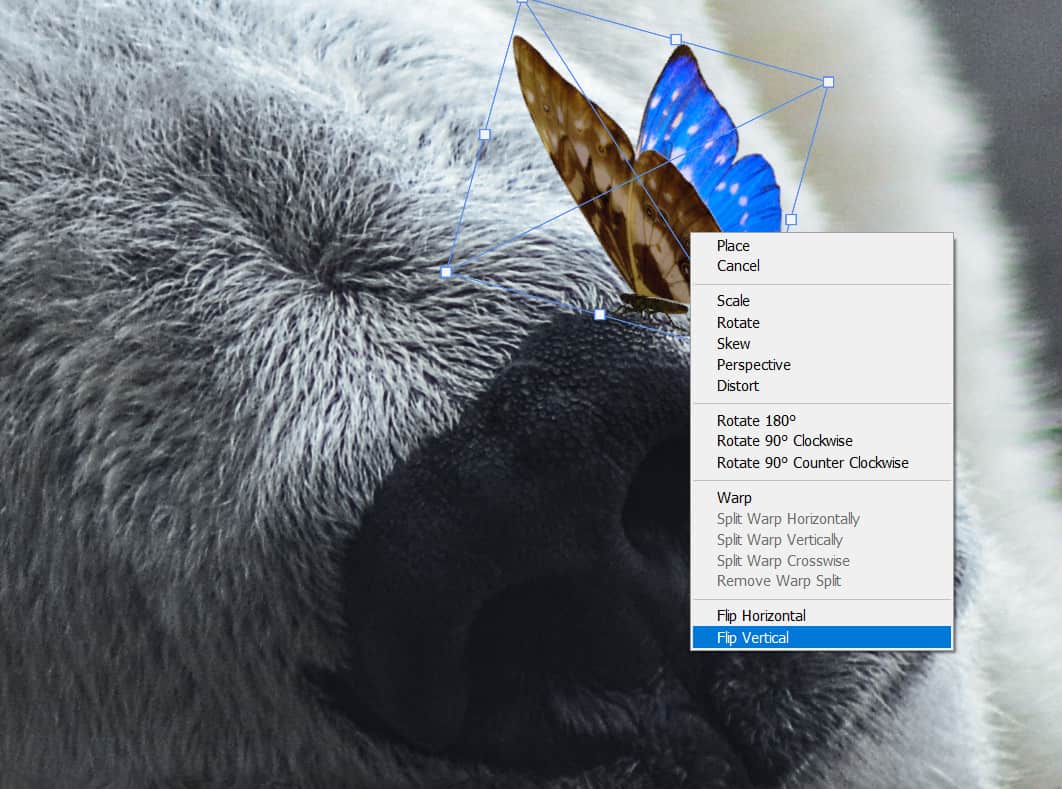
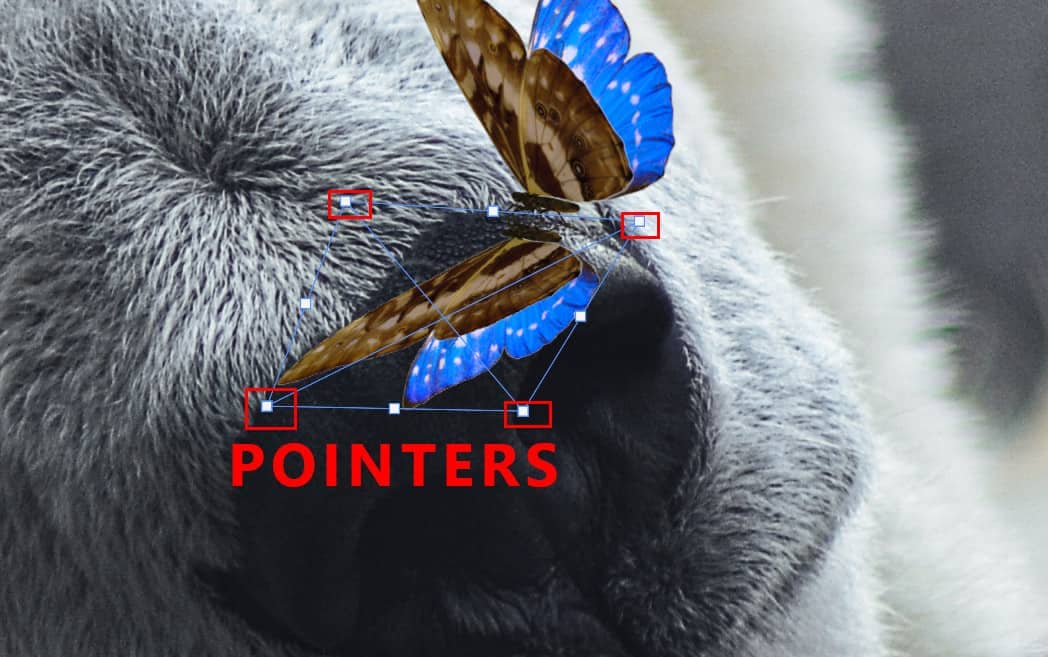
Now create another shadow, select Butterfly layer and duplicate it (Ctrl/Cmd + J) then go to Image > Adjustments > Hue/Saturation and put Lightness to -100.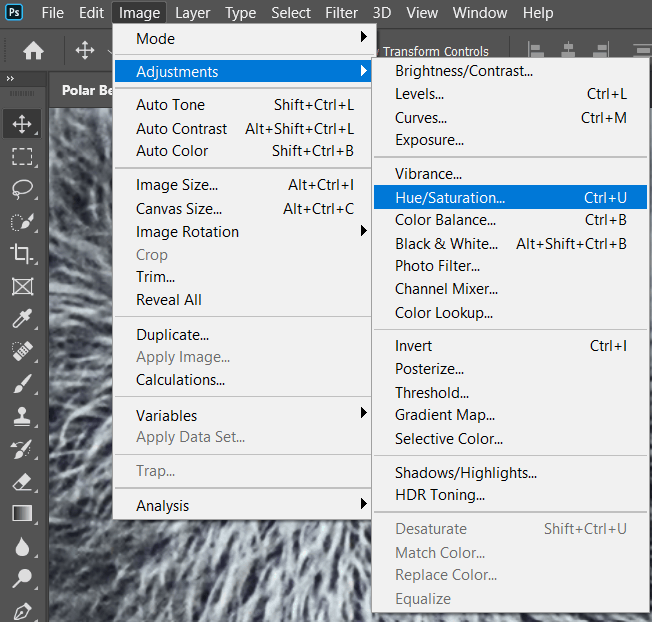
Step 13
Next, select Butterfly layer and create a new Adjustment Layer “Hue/Saturation”Source link